Taking a professional photo requires a lot of skill and knowledge in addition to expensive equipment.
However, with the help of modern tools, today, we can transform any image quite quickly and make it look flawless.
These tools also allow us to enhance the photos and make them look as if they were taken by a professional.
Although photo editing has been around for a while now, it’s becoming increasingly popular among the general public.
Some editing techniques have been widely known and used by photographers for years now, and amateurs are slowly catching on.
These Editing Tips can help you get the best out of each shot that you’ve captured.
So now without talking more about it, let me share some of the best and top 10 Editing Tips to make any dull photo into a well-captured one…
10 Editing Tips To Make Any Photo Look Professional
Here, you can learn all about the 10 editing tips and how to transform your basic photo into a professional one…
Each editing tip contains its logic and ways to get a better image at the end, so make sure you go through every editing tip which I’m sharing in this article…
1. Understand The Basics Of Exposure
Exposure is one of the most critical elements in photography.
So you should learn its basics ASAP.
Essentially, exposure is the amount of light that reaches the film.
Manipulating exposure can be quite a handy tool depending on the amount of natural light and the effect you want to achieve.
There are three elements of exposure – ISO, aperture, and shutter speed. They all affect it differently, so you should find the ideal exposure by tweaking them.
2. Manipulate The Color Vibrancy And Saturation

The many colour panels you see in photo editing software might intimidate you at the start.
The overwhelming numbers, hues, and colour palettes can stop you from trying something different with your photo.
However, these panels and colour details can help you create a better effect.
Whether you want to make the grass greener, the sky bluer, or the autumn leaves redder – there’s nothing you can’t achieve with colour vibrancy.
3. Adapt To Low Light
We all know low light isn’t photography’s best friend.
Photos taken in low light tend to look blurry, low-quality, and dark.
However, that doesn’t mean you can’t transform mediocre shots into beautiful photos with the help of some professional editing tools.
Currnetly I’m using Sigma 56MM F1.4 to get better images in low light, this lens is pretty cheap and sharp 🙂
You can try using a large aperture and increasing the ISO.
With these settings, you’ll let more light in and take a brighter photo.
By slowing down the shutter speed, you’ll reduce the motion blur, often present in low-light photos.
Even if you end up with a slightly grainy shot, that can be easily solved using editing software such as Photoshop or Lightroom.
4. Play With Manual Focus
Focus can make even the most basic photo pop.
Modern cameras are equipped with autofocus, which is getting pretty smart.
Still, nothing beats manual focus and playing around with the subjects in the shot.
That’s why we suggest turning off your autofocus and giving manual focus a chance.
Having complete control over what’s in or out of focus can make your shooting process much easier.
Additionally, it’ll make your post-production work a breeze.
With impressive results, you won’t spend a lot of time on photo retouching, as it’ll already be near perfect.
Believe us – you’ll be pleasantly surprised by the results!
5. Add Or Remove Motion Blur
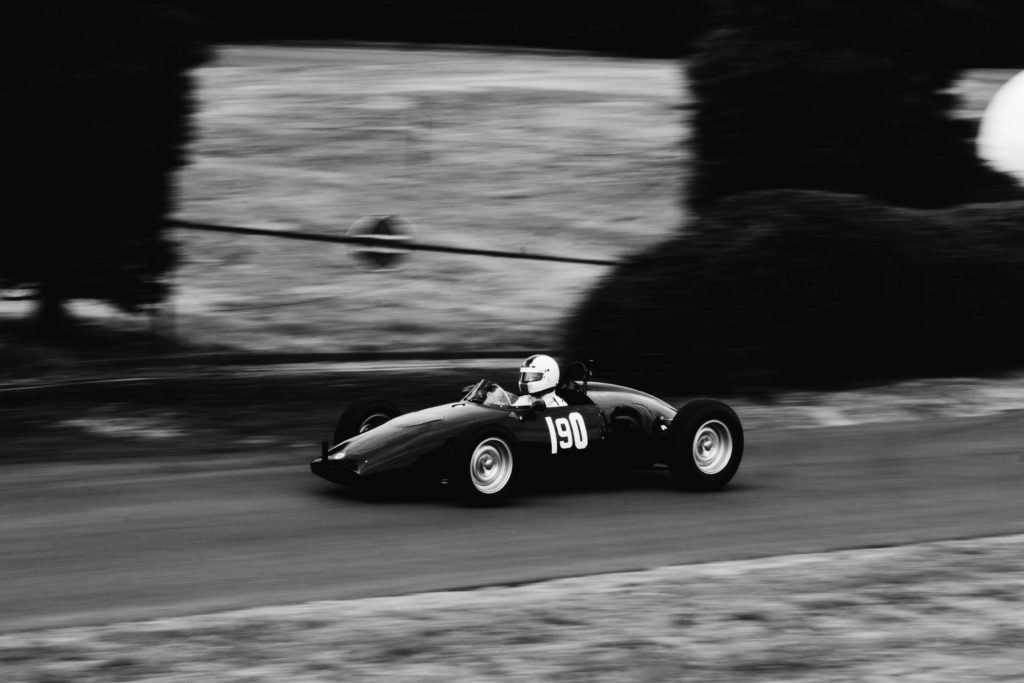
Motion blur is something photographers have been struggling with for a while.
A handy tripod solves this problem, but a tripod can’t be used in all situations.
You can also get creative and use stacks of books as your tripod, or benches, fences, public posts, or half walls if you’re outdoors.
Professional editing tools also come with various shake-reduction features that can make your photo look crisper.
That being said, motion blur often makes a photo more artistic and adds to its character.
Therefore, even if you have a clear photo, you can add the right amount of motion blur later on.
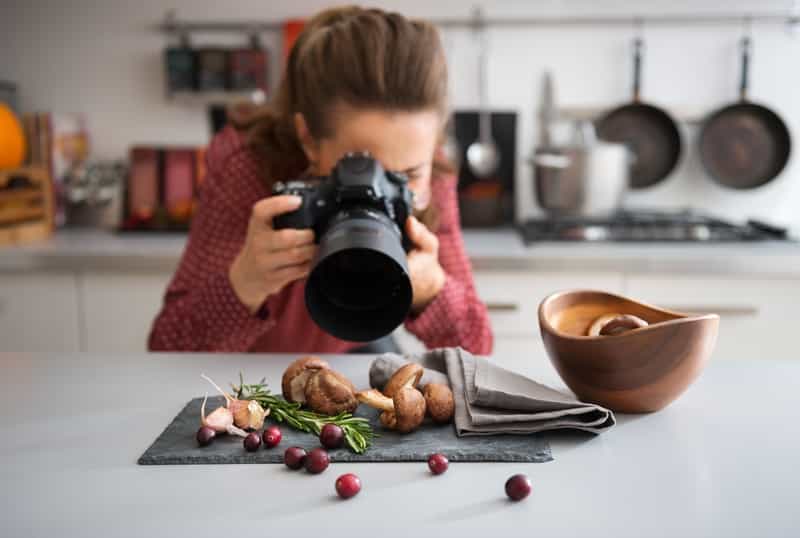
6. Approach Subject Shots Differently
Subject shots are an outstanding example where you can easily tell a good photographer from a bad one.
While most people take subject shots vertically, try switching things up and using the landscape mode.
Moreover, using specific compositions can make your subject photo pop.
The Golden Ratio is just one of the examples.
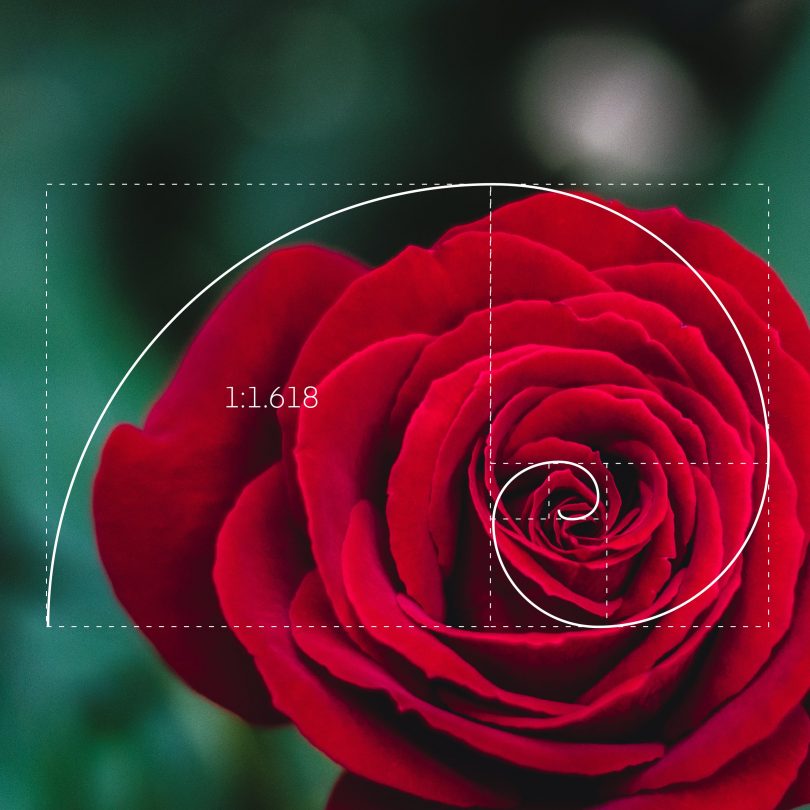
Here, you can take advantage of the subject and its surrounding elements to come up with a unique point of view.
- A Beginner’s Guide to some of the best Photo Composition Techniques
- Vanishing Points in Photography | Composition Tips To Get Bangers
7. Experiment With Landscape Photos

f you truly want to experiment with photo editing, landscape photography is the way to go.
Offering so much flexibility and countless editing possibilities, landscape shots are ideal for playing around.
Imagine you want to photograph a beautiful forest with a stream.
Capturing its beauty can take a lot of time and effort. Essentially, you’ll want to achieve the effect of truly being there when looking at the photo.
Deepen the blacks, add more depth, improve clarity, and reduce graininess.
You can play around with any other tools until you have a breathtaking picture. Your options here are truly limitless!
8. Use The Correct Resolution
The best resolution for your photo largely depends on what you’re taking the photo for.
If you plan on posting it online, there’s no need to aim towards extremely high resolutions.
Most platforms support 72 PPI to avoid long load times. For online use, this still creates a decent photo.
Nevertheless, if you plan on printing your photo, the resolution needs to be much higher.
The higher the resolution, the better the photo will look on a bigger scale.
If you’re not sure about the photo’s purpose, choose a high resolution anyway – you can always scale it down later.
9. Resize if Necessary
Today, almost every photo editing tool has the resizing option.
However, you can do much more with resizing than simply changing the photo’s size.
Namely, with the correct resizing, you can eliminate unwanted objects from the photo, shift focus to something else, or change the position of the subject.
With these steps, you can completely transform your picture and create a new effect with it.
10. Have Fun!
Last but certainly not least, don’t forget to have fun along the way.
While all these steps might seem too complex at first, there’s nothing you can’t master.
With enough practice, you’ll see significant progress in your photos.
Photography isn’t an easy skill, so you’ll need to dedicate plenty of time if you want to become good at it.
Therefore, why not have fun in the meantime and find joy in it?
Final Thoughts
All in all, photo retouching and editing is a complex and broad subject we can talk about the entire day.
However, these ten essential editing tips are enough to ensure you take decent photos from the start.
As you become more experienced, you’ll find your unique photography style that fits your photos perfectly.
Until then, experiment with different features of photo editing tools and have fun.