Our eyes perceive light in all patterns of images and videos. So filming in ideal conditions with a better ambience seems like an achievable task.
But when the lights are out or it’s dusk, and you have to shoot a video, it’s a bit tough.
The video shot in the dim light leaves poor quality, inferior and grimy footage.
So without light, there is no good videography. We understand it’s exasperating to shoot a video while there is no light.
Fortunately, this article has covered the most critical ways to shoot a video in low light and get a good quality video as well.
Keep reading to unlock the options that are most useful while shooting in dim light.
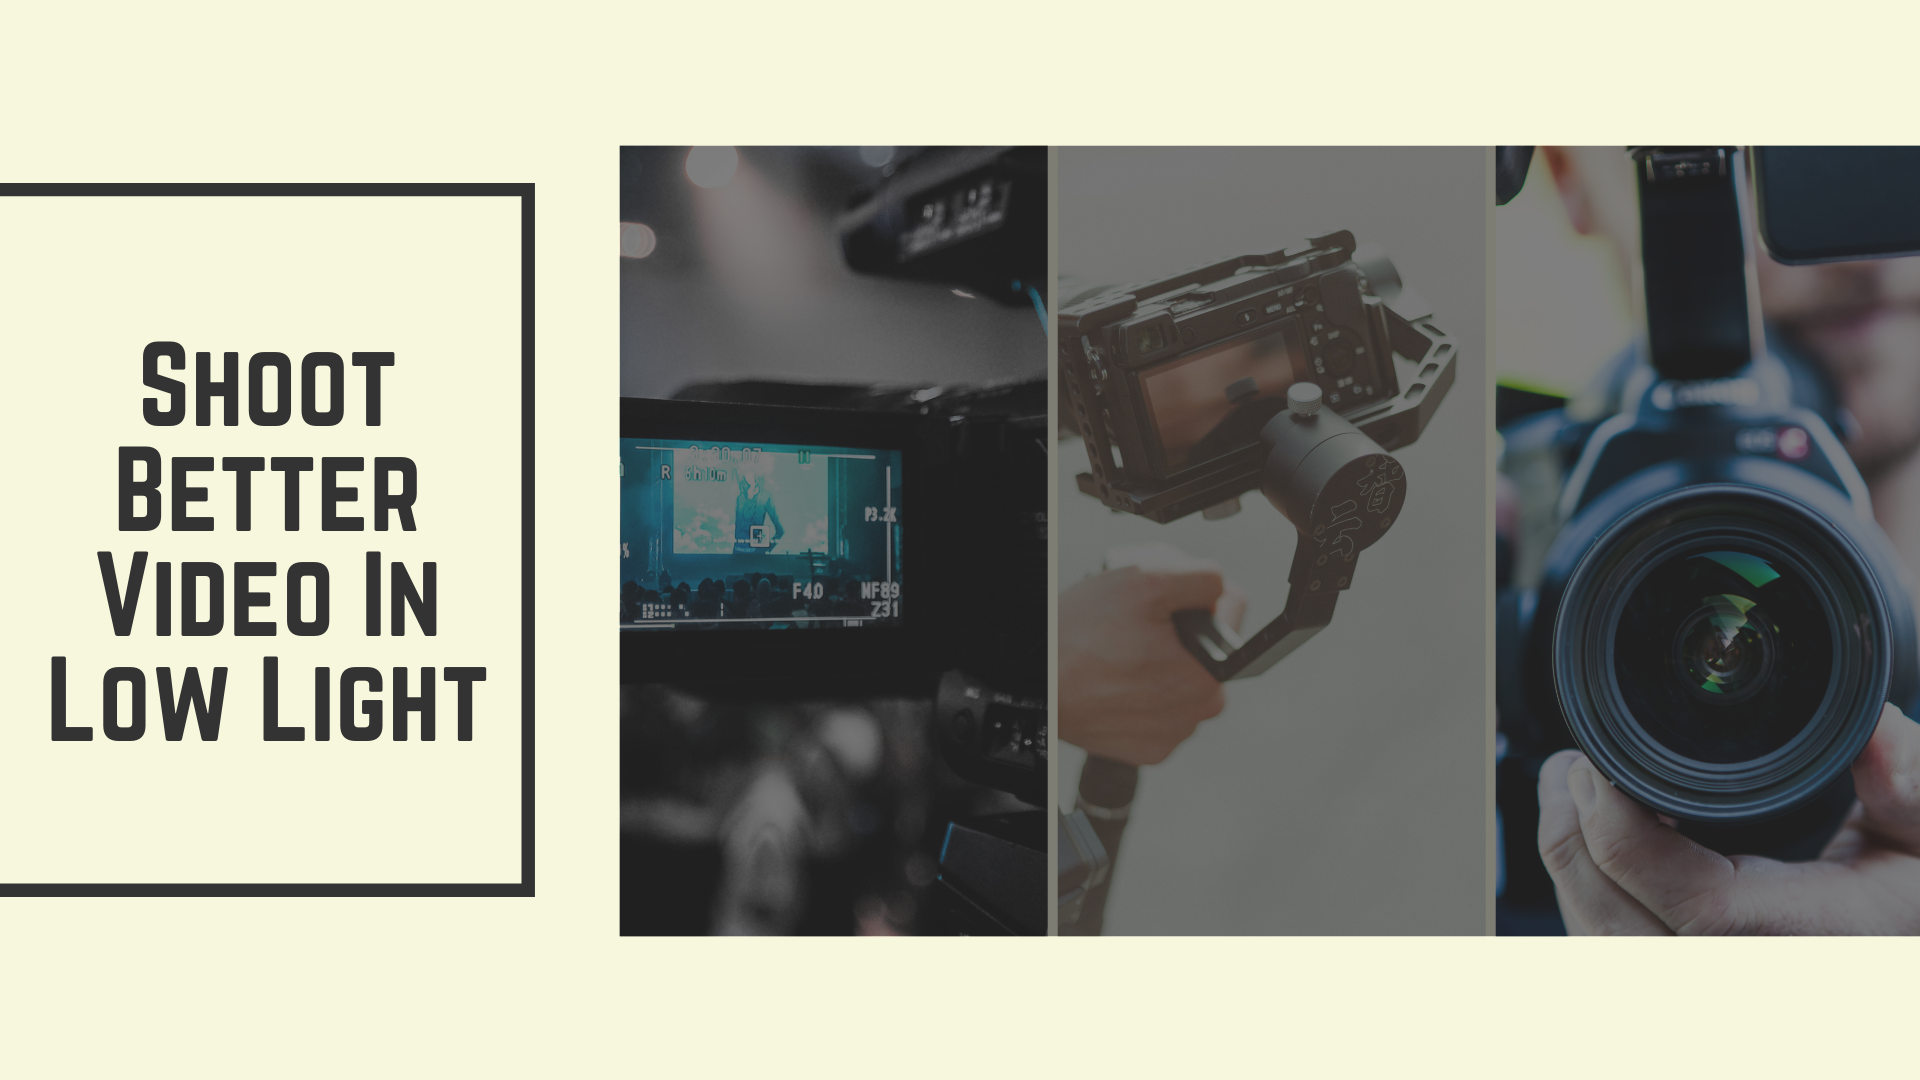
Shoot Video In Low Light Conditions Like A Pro
Check out some pro tips shared by our experts to get better videos in low light.
Or even if you’re using some cheap DLSR or mirrorless camera then this article also helps you to get better footage in low light conditions…
Include artificial light while shooting.
There is always trouble while shooting in the dark or dim light.
It is close to impossible to shoot in complete darkness as the lack of natural light on the focus subject gives rise to mediocre video quality.
In these situations attaching an additional light source to your low-light video camera will certainly do the trick.
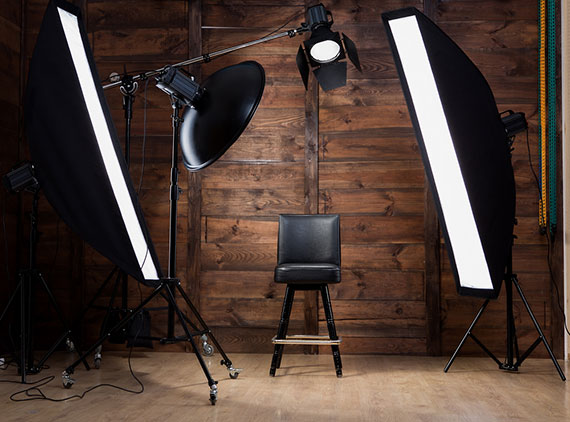
A camera video light mounted onto the camera itself can help you shed enough light on the focused object.
Not only this, but you can also use floodlights or a reflecting panel to shed light on the subject.
Overall, some sort of artificial lighting can add value to your videos with the desired deliverables.
So if you are shooting in low light, you can include artificial light and capture better-quality videos.
Take advantage of the Darkness.
You can take advantage of the surrounding darkness to produce a reasonably exciting video.
This means that when there is dim light, the subject need not take the prime focus shot, but the surroundings can add value too.
The prime focus on the subject can be seen as a shadow or figure, with the atmosphere arousing curiosity in the clip.
When you combine the surroundings with artificial light, it can improve the quality and visibility but may not require all the time.
Aesthetically pleasing backgrounds can steal the show when the subject’s focus is kept in the darkness.
The bigger the aperture better your video
How sharp or blurry the area behind your subject is also influences the kind of video you shoot.
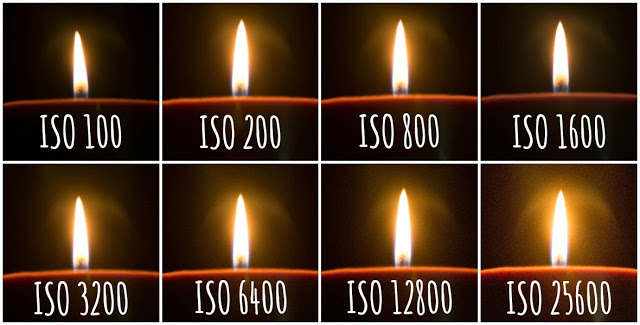
And if you think only having a higher ISO camera will give you the best shots in low light, then I’m sorry you’re mistaken.
Lenses with a wider aperture are a must for low-light videography.
When the lens opens very wide, it will capture the maximum possible light, thereby giving you brighter footage.
Currently I’m using Sigma 56mm F1.4 to get some bangers, you can try Sigma 16mm F1.4 too…
So, the fact is lower the f-stop (aperture value), the better the low-light performance it delivers.
You can change the f-stop or iris setting using the aperture rings (if the lens has one) or using the camera settings options.
With that said top-camera brands like Canon, Nikon, and Sony have a great variety of low-light cameras and lenses.
And among these, low-light lenses from Canon are the best.
Apart from having a wider aperture, their AF speed and bokeh quality are excellent too.
Also remember, When your camera has a zoom lens, ensure constant aperture is changed as you zoom in.
This is because if you maximize the zoom, the aperture becomes small thus allowing less light to pass through, resulting in dark video footage.
So you must keep the camera lens zoom in to a wider angle rather than manually zooming in.
Also, it is recommended to walk closer to the subject rather than zoom in with the lens.
By doing so, more light is let into the camera, giving you brighter and clearer footage.
Bring down the frame rate in the video camera
Usually, all the cameras have an FPS (frame per second) set to 30, and the current industry standard is 24 FPS.
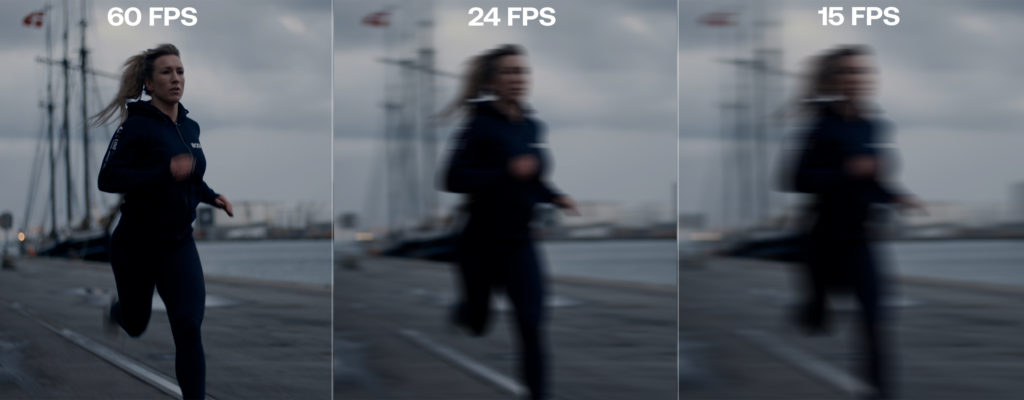
Source: artlist.io
A 24 FPS setting can give you energizing video clips in poor light shooting.
The lesser frame rate speed allows more light to the camera, giving you a brighter video.
Reducing the FPS to 24 might look like a slight dip, but the amount of light allowed in can make a lot of difference in the video filming.
Leaving the shutter off can allow more light in for better footage. Some cameras do allow 12 or even six frames per second.
This would work well for still shooting, like landscapes or any subject that is relatively still.
Also, remember, the setting would not work for shooting a subject that is in motion.
Shrink the shutter speed for brighter footage.
When you are adjusting the shutter speed.
always consider the light and motion of the subject.
If the shutter is open for a longer duration, the subject’s motion will affect the video to a greater degree.
A slower shutter speed can help you light up the darker scene as it brings in more light.
Slowing the shutter speed can give great relief while filming, as the desired quality is achieved.
Be mindful while in this setting, as there is the possibility of shooting poor video footage.
Increase the Gain in Videography
In simple terms, the gain in videography means increasing or decreasing the brightness of the video.
But exposure is the primary function to get you a perfect video devoid of blur and noise.
Gain is useful when there is minimum light or complete darkness.
It is important to note that the gain amplifies the entire signal.
even the background noise of the footage is magnified.
The final word
Shooting in poor lighting setups is no longer a daunting task when you follow the ways mentioned above.
You are sure to raise the bar XD.
As a rule of thumb, always choose and change the settings according to the surroundings and the ambience.
You might not be able to choose all the options while shooting in the dim light but give them a try. You will not be disappointed.
Also Remember, Practice is a very important key.
Using the Internet you can learn easily anything for free.
you can search on YouTube and follow some great filmmakers to learn how they’re actually shooting their videos.
You can even follow them on Instagram to get some real behind-the-scenes ideas and creative stuff.
and just try to follow or copy them with your little twist or you can say creativity.
this kind of stuff really helps you and motivates you to do more and more every single day.
May you like
- 10 Sharp & Easy Editing Tips To Make Any Photo Look Professional
- 7 Best Short Video Apps To Edit Your Videos Like A Pro
- 7 Proven & Unique Ways to Earn As Photographer
Which one is your favourite YouTuber and why? As a photographer/videographer.