

A newborn baby photo shoot is one of my favourite types of photography, and I always like to do it occasionally.
But do you know how to shoot an Amazing DIY baby photoshoot at home without some expensive gear like a DSLR or Mirrorless Camera?
As you know, these days, there are pretty solid phones available in the market with some good megapixels to capture better images.
Even in low lights, you can use your smartphone to capture some best images.
Which you are not able to capture with some entry-level DSLR cameras.
Either way, right now, we’re talking about a baby photoshoot.
And as you know sometimes it’s better to capture your baby’s photos by yourself than calling an expert photographer.
Important Benefits Of Not Calling An Expert Photographer for Shoot
The very first benefit is, that now you can capture more than enough photos of your baby whenever you need them.
Believe me, you’re going to save lots of money ( as you know photography is a very expensive hobby 😀 ).
So you can buy some amazing props, which you can use during the shoot.
And in the end, you’ll learn something more about photography, and how to capture good images with your smartphone.
So, it doesn’t matter if you’re a photographer or a person, or if you’re looking for some good tips on How to do a DIY Baby Photoshoot At Home or take good baby pictures at home, then you’re at the right place.
In this article, I’m going to share some simple and useful tips (pretty easy).
You can apply to do a baby photoshoot at home without any issues.
Also, in this article, you’ll find some important examples along with the camera settings, which I managed to capture during the shoot.
Now without talking more about it, let me share some simple steps to perform a Baby Photoshoot at home.
Quick And Simple DIY Baby Photoshoot At Home
So here is the list of tips or you can say a list of points which you need to follow to perform a successful Baby photoshoot at home.
- Setup a Small DIY Studio
- Know When to shoot
- Prepare your Gears
- Understanding Camera Settings
- Getting Ready For Shoot
- Editing your Images
So these are the six and most important steps which I’m going to cover in this article in depth.
These steps definitely help you to shoot something extraordinary.
Also if you have some decent knowledge about photography then you can skip a couple of steps, and that’s totally fine.
A Small DIY Studio
This is the very first and most important part of our photoshoot.
As you can see here I’m talking about DIY photo studio, which simply means you can use some in-house items to create it.
Or it’s way less expensive than any photo studio which you can find online on Amazon.
Here are some required Items which we need to create our own very first DYI studio.
- Some white/black Sheets
- Any colourful fabric background ( I prefer black )
- A Lamp
- A Tripod with a Remote Shutter ( if you want to be a part of any particular picture 😀 )
- A Good Smartphone Or any Point Shoot / DSLR Camera
- Some Natural Lights
These are the simple items, which you need to perform the photoshoot.
If you don’t own any blank/white sheets then you can follow this link to buy them from Amazon.
As you can see each and every item ( not including smartphone and camera ) you can buy from Amazon for under 10 bucks.
Now I’m hoping that you own a good smartphone to shoot.
Once you got everything, now you’re ready to set up your very first studio.
I found a very good article Called Anatomy Of A DIY Home Studio, which helps many users understand more about DIY home studio setup.
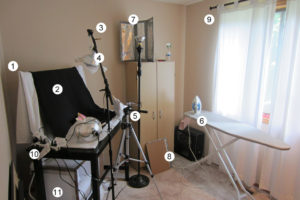
Source: DIY Craft Photography
As you can see in this image, natural lights play a very big role in making your subject look more balanced.
So make sure you just set up your studio, as mentioned in this image.
Here I mentioned a lamp in our list of items, which you can use to add extra lights if there are not enough natural lights coming in.
Or you can use it to create some dramatic images, by playing with the lights and shadow.
I’m going to cover letter in this article as well.
Now I’m assuming that your DIY studio setup is done, so let’s move on to another point.
Set Timing For Shoot
This is also one of the most important factors when shooting babies.
Like if you’re shooting couples then the Golden Hour is the perfect time to capture lovely moments, without doing so many things.
But these tactics never work for babies, because you need to work according to the mood of the baby 😀
So make sure the baby gets enough sleep and remains calm when you’re shooting, otherwise, it’ll create a big mess.
And you need to start everything from scratch the next day.
If you’re asking me, then it’s way better to shoot babies when they’re sleeping.
Also, it gives you some outstanding portraits without drawing the attention of the baby.
So make sure you pick a good time for shooting.
Get Ready For Shoot
Now you know the prime time to shoot the baby.
It’s time to set up your gear and get ready for the shoot.
If you’re going to use your DLSR camera then make sure the batteries are charged.
Same for all smartphone users 😀
As you know your gears are a very important part of taking good baby pictures at home.
Normally right now, smartphones contain good megapixels, so make sure you shoot your all images in HD quality.
Or if you’re shooting with your DSRL camera then shoot in RAW.
Camera Settings To Use
You can use Manual Mode, so you can easily play with lights and shutters.
Here are some topics which you need to cover if you’re going to use Manual Mode
- Beginners Quick Guide To Manual Mode No More Bullshit
- Use a manual mode like a PRO on your smartphone camera
- Learn Some Basic Photography settings Like ISO and Shutter-Speed
- What is Aperture And How to Use it?
So there are some good articles, which you can follow.
If you don’t know anything about Photography.
It also helps you to understand more about photography so you can capture some cool images.
Get Ready For Shoot
As we know If you’re shooting by yourself, then you’re going to save a lot of money.
So you can get some good props for your baby shoot from Amazon.
Another benefit of props is that you can use them to draw the attention of your baby to capture some good images.
As we’re doing a DIY baby photoshoot then you can also make some DIY props by yourself ( only if you’ve enough time ).
Once your props are ready you’re good to go.
If you’re new to photography, then you can just use different angles/perspectives to capture one single shot.
Your imagination will play a much bigger role than just your angles, so make sure you know what you’re going to capture in the shoot.
It’s good practice as a photographer, sometimes it helps to just get started with the shoot.
And Always Capture one single Image more than 2-3 times.
So after the shoot, you can remove some underexposed or out-of-focus images, if there are any.
If you’re not using natural lights then you can use a Lamp as a light source and use some paper as a diffuser, so you’ll get better soft lights.
Also, as I mentioned earlier we’re going to use a tripod, so you can set up your tripod from a different angle as per the conditions.
Try to shoot in high shutter-speed ( around 1/300 – 1/500th per second ) so you can capture any magical moment (which are rare, while shooting babies :D) quickly.
Follow Me On Instagram: pewdoc_
Follow Me On Instagram: pewdoc_
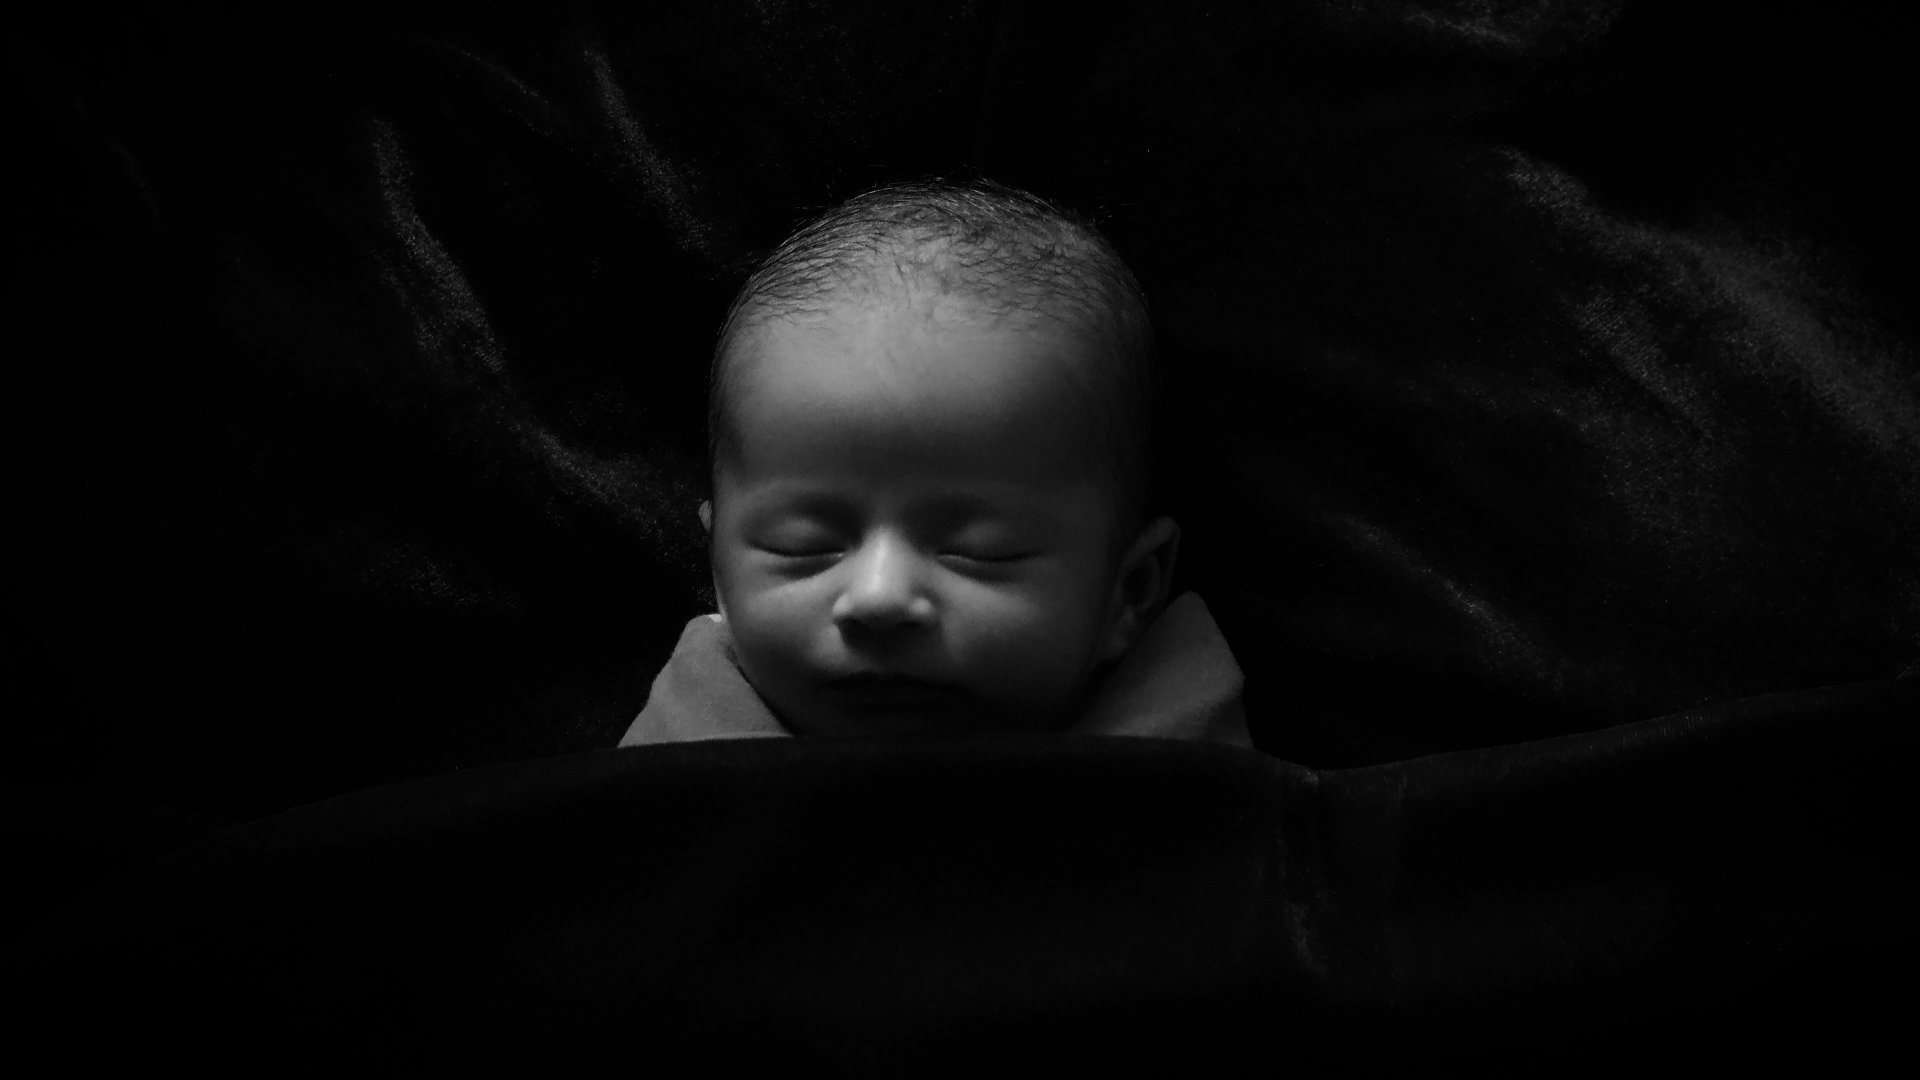
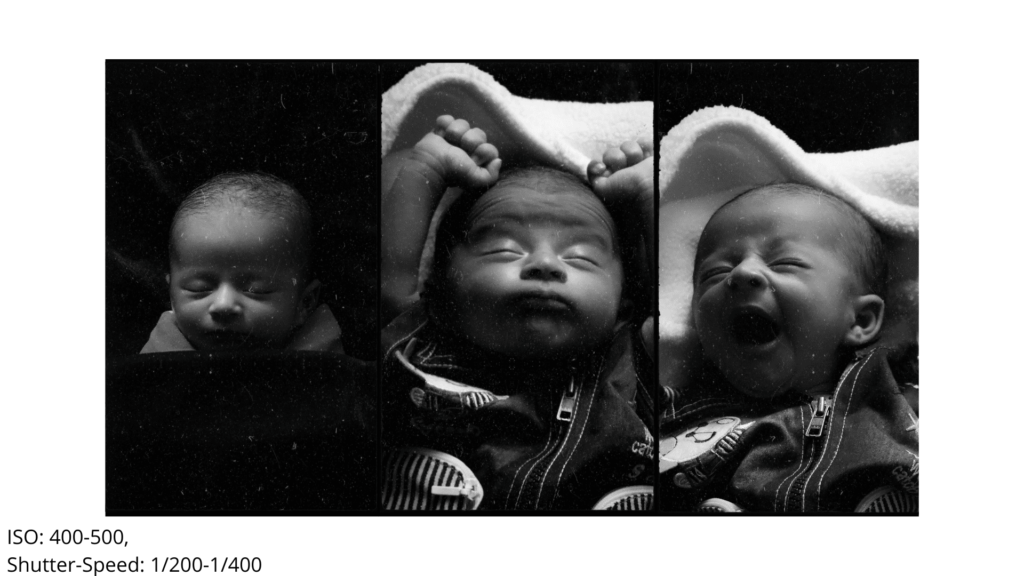
As you can see all these Images are captured from the Top Position with a very high range of shutter speed.
I managed to capture all these images using My Sony A6000 + 16-35mm Kit lens.
Also, All these images are captured Using Custom Lights.
As you can see, I used a black sheet as a background and white + blue fabric cloth to cover the upper body.
But as you can see all the images, are in black and white mode, so it’ll look like white and black 😀
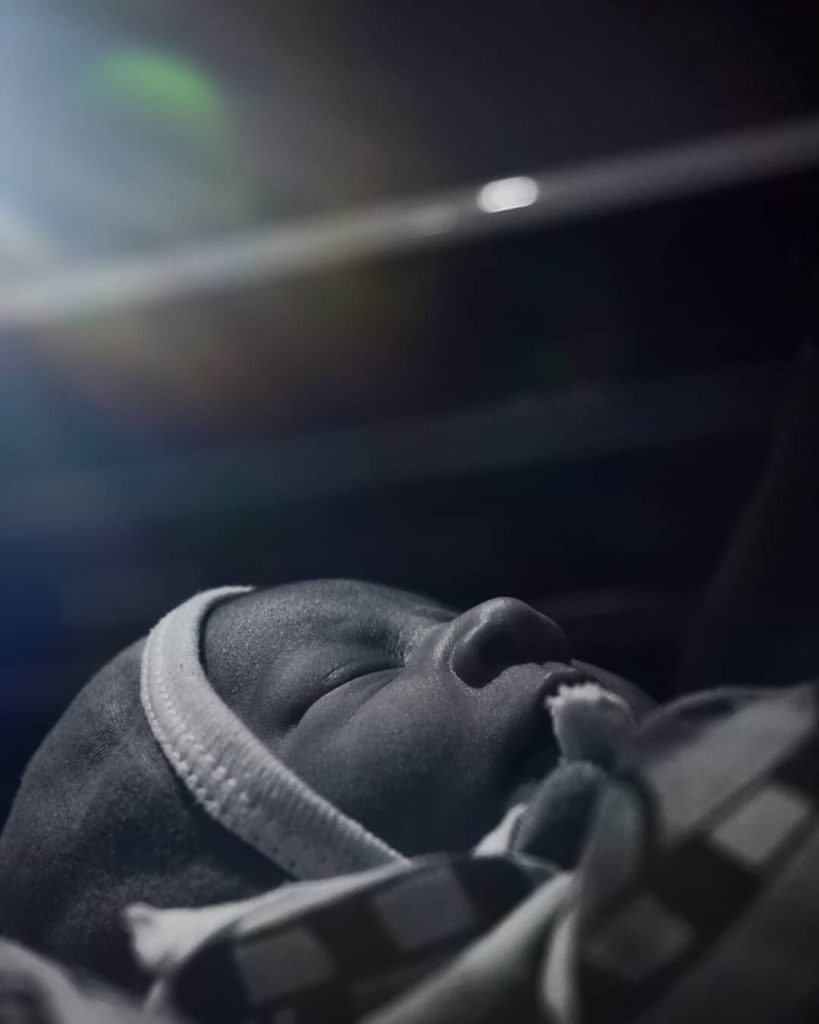
This one is the second image, which I managed to capture using a different position.
Let’s talk about Editing
If you’re asking me then I’m using my smartphone to Edit all these images.
Applications like Lightroom Mobile, Snapseed & Light Distortions are my go-to picks, to edit my all images using my smartphone.
All of these applications are totally free to edit your images.
If you’re also shooting RAW then Lightroom supports RAW editing but you need to pay them so you can use Snapseed or Polarr to edit your RAW files.
Here are some In-depth articles which you can follow and read to know more about some super free editing Apps.
- 7 Crazy Photo Editing Apps You Need To Know To Grow Your Instagram
- Important photo editing tips for every photographer | Photo editing guide
So that’s all about the editing session, in which you can try and retouch your final images.
That’s all from my side guys.
If you’ve any queries or questions then please comment below and let us know.
May you like
- Outstanding Point And Shoot Camera Under 300 Dollars ( 2021/22 Edition )
- 7 Proven & Unique Ways to Earn As Photographer In India
- The 5 Most Important Camera Settings For Portrait Photography
Hope you guys like all these tips for performing Baby Photoshoots at home 🙂
Thank you, have a good day.
1 Comment