

After doing photography for the last 10 years (still learning:D), I found that there are a lot of photographers who don’t find the real answer to questions like “How to do black and white photography?“.
The main reason behind this is that every beginner photographer doesn’t know how many different types and methods are available to capture a single object.
There are multiple ways, but don’t worry I didn’t even know when I was a beginner in the photography world.
And right now the biggest question is that not everyone knows the answer to this question – “Why do we capture/shoot black and white photography?” or why do pro photographers like to edit their images and end up getting black and white images?
If you don’t know some questions like that then this article helps you a lot to know something new about this type of photography.
There is not an issue if you completely don’t know about black and white photography.
In this article, you get all the detailed information related to this type of photography so read this article carefully.
You can get a total of seven (excellent) tips to do better or sharper black-and-white photography.
I’m also going to share some important points like what condition is needed to capture a black and white photograph, when to edit your colour images into black and white photographs, etc types of cool tips.
Now without talking more about it, let’s get started…
Black And White Photography Tips For Beginners
So here are some most Important Tips for beginners to achieve greatness in Black and White Photography, which I strongly follow and am always able to get the best output ( most recommended to you guys ).
All you need to do is follow all these tips along with me to capture better black-and-white images with a proper reason.
That’s the real key to success.
So in short here are the Top 7 Tips & tricks, which you need to follow to improve your black-and-white photography performance.
- Shoot More Sharper Black And White Images
- Image Size Matters
- When To Edit Your Colorful Photographs Into Black And White Photographs.
- ISO Settings to do better black and white photography
- Basic Edit Tips To Get More Sexy Photographs (Colorful Images To B/W Images)
- Best Time To do Black and white Photography
- Other Manual Settings with Your D-SLR
To master all these tips and tricks, make sure you know how to use your DSLR camera like a pro or some basic features like manual mode + settings like ISO, shutter speed, and aperture.
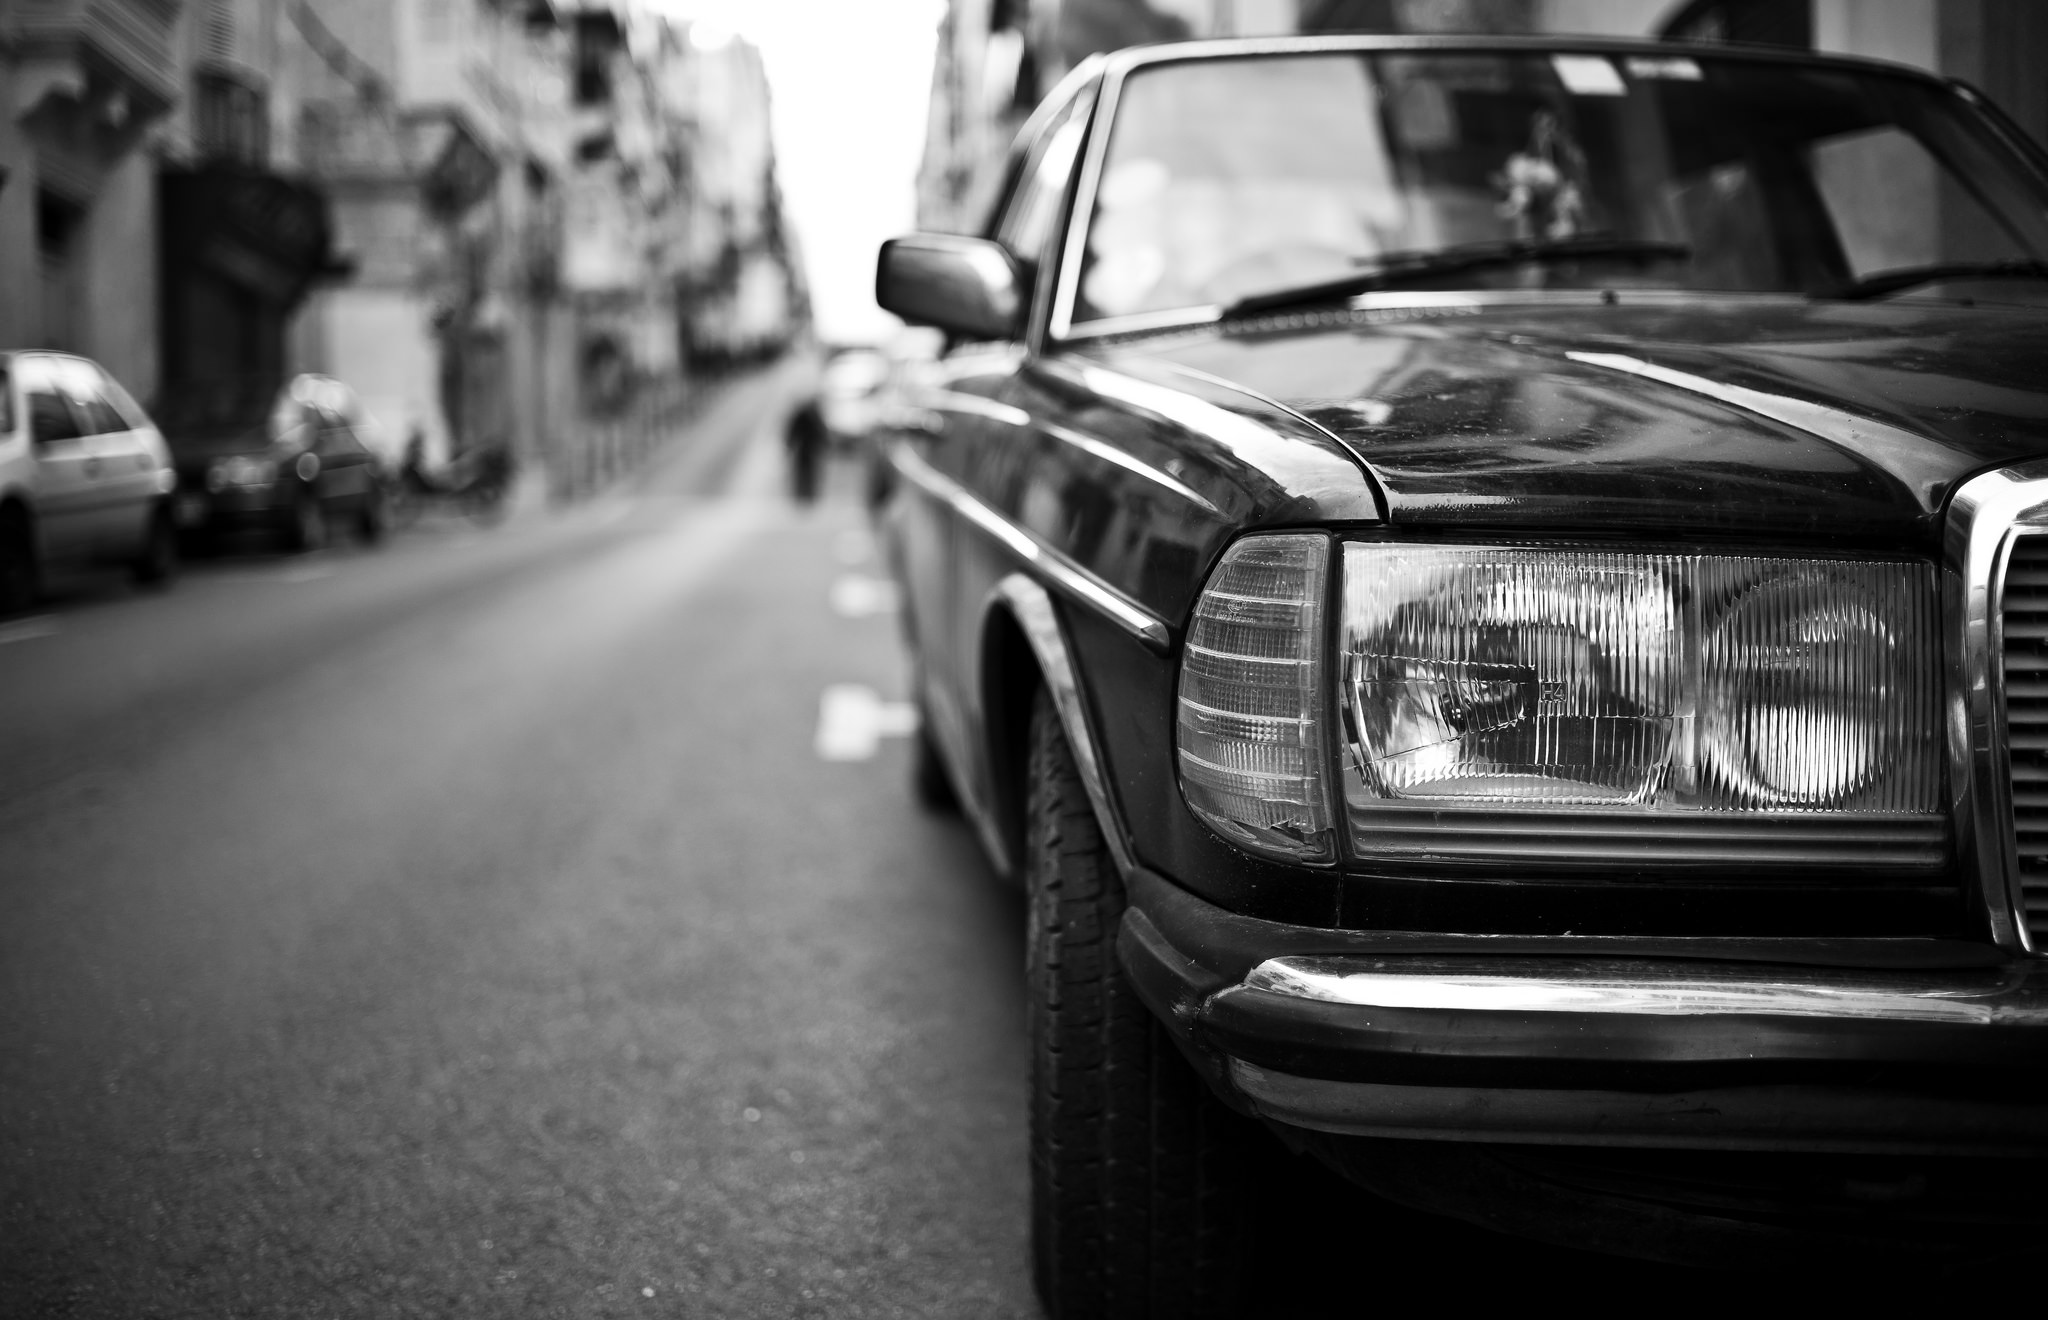
1. Shoot More Sharper Black And White Images
So that’s the basic methodology to get more beautiful black-and-white photographs.
The reason to click sharp images is that when you click sharp images and then simply convert it into black and white then the clarity or HDR must remain as it is.
Because of this, you don’t need to do EXTRA Editing stuff to your images which is better and more important ( maintenance of clarity ). So always try to shoot sharper images.
captured by PEWDOC using Canon 1300D
2. Image Size Matters
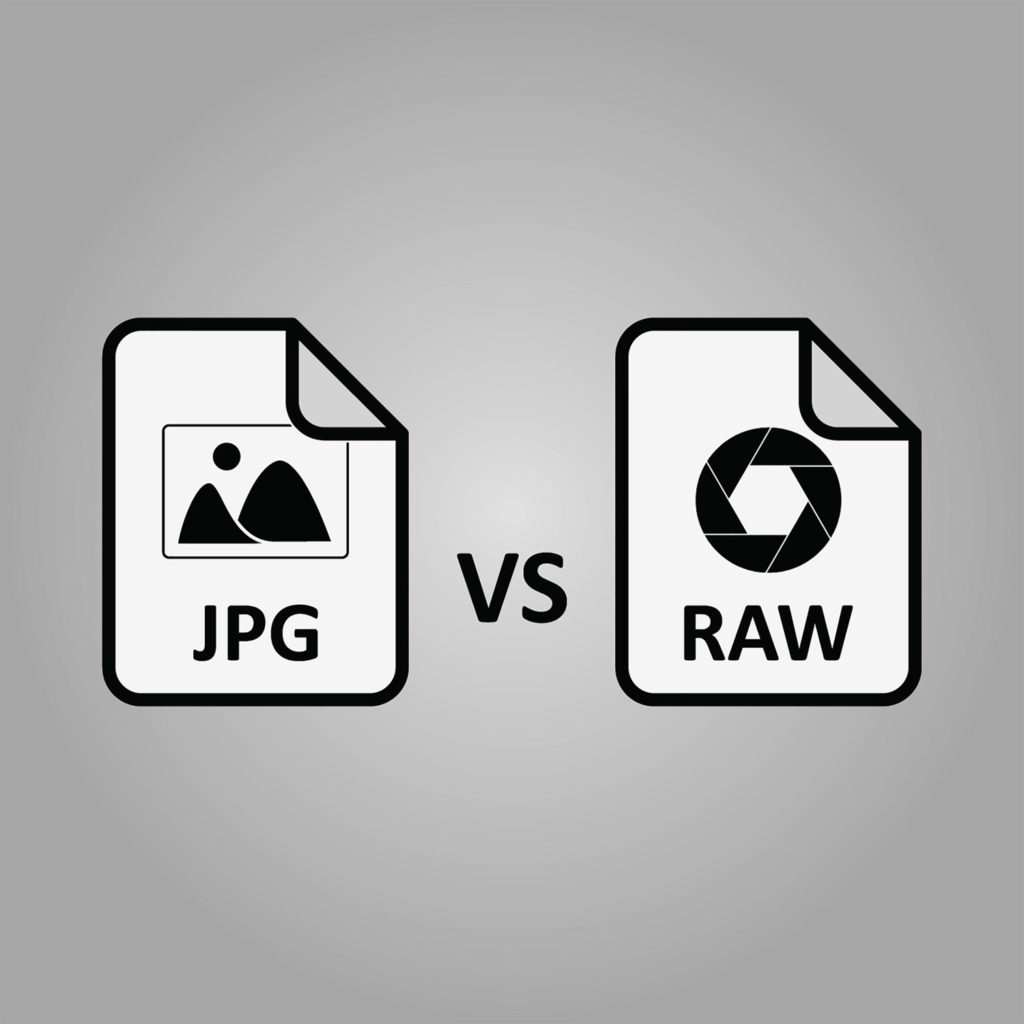
If you are using a Canon DSLR (which I have) there are lots of different options available related to image size (Mostly nowadays every camera comes with different image types so you can pick RAW, jpeg, and many more as per your requirements.).
So just make sure that your image size is selected as RAW (default is JPEG).
The main reason behind changing from JPEG to RAW is that you’ll get more details in your image.
Using the RAW format you’ll get not a compressed image, on the other hand using JPEG you’ll get a compressed image that contains extra colours and other stuff.
So make sure you shoot in RAW.
Here is the key difference (in-depth) between JPEG and RAW.
3. How to Convert Your Colorful Photographs Into B/W Photographs
There are lots of people asking me questions like “How to make a picture black and white?”.
So there are two options to convert your colourful images into a black and white photograph ( I know many users are familiar with this technique).
Edit images within your Camera.
You can edit your colour images into black and white by just selecting the edit option on your camera.
You can find this option under the display screen where you can review your image.
It just edits some little things in your photograph and converts it into a black-and-white image.
This is useful at some level because if your image is not too sharp and if the exposure is too low then it gives you bad-quality output.
So if your image is sharp then apply this thing otherwise use the second point.
This technique is useful if you’re capturing images in some competition and want to submit images ASAP.
Then you can convert the required images into black and white without copying and pasting your images to your laptop or smartphone.
- Edit your image using a photo editing application.
- So if your image is not sharper or even contains low or high exposure then you just need some best photo editing applications.
- This helps you to edit all these things, so in the end, you get sharper images as well as better output.
4.ISO Settings To do better black and white photography
while shooting black and white photographs your iSO must be as LOW as possible to get more beautiful b/w images.
Because if your ISO is low in daylight or even while you are shooting at night then it’ll give you better output.
And on the other hand, high ISO will give you overexposed images.
Related
- Learn and Understand ISO In One Day with Examples
- Know the Rule of Thirds & Aperture
- Manual Mode: From Zero To Hero Guide
5. Basic Edit Tips To Get More Sexy Photographs (Colorful Images To B/W Images)
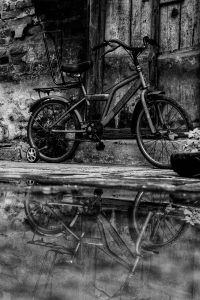
If you get already blurry background & sharp objects in focus then there is no need to edit your image just simply convert your colorful images into a black and white image that’s it.
6. Best Time To do Black and white Photography
So Really there is no best time available to shoot these types of photography because if the weather is too hot or light then using Low ISO you’ll easily get better images.
And if the weather is too low then it’s too easy to get the best photographs.
you can shoot
- Portrait wedding (kind of pre-wedding)
- Random (street photographs in high light)
- Kids & animal’s photographs
- Night photographs
- Indoor photography
These all are just examples you can use this technique for every photoshoot but there is one big need for the Creative Mind, and I know you have that mind :).
7. Other Manual Setting With Your D-SLR
Just check your ISO and Aperture normally, if your ISO is at last low level then just increase your Shutter-speed to get Darker images and do the opposite thing if you want to get brighter images.
And make your AEB setting (for exposure) too low to get more dark and sharper images.
No matter how bright the outside is, using this setting you must get more awesome black and white photographs.
Make sure you know some common photography terms before you jump into any type of photography.
So that’s my pro-seven tips to achieve mastery over black and white photography.
I hope one day you archive your target in black and white photography and click awesome images.
That’s all from my side, hope you guys like this article.
If you like it then please share it on your social media accounts 🙂
Thank you, have a good day.


Hi All im newbie here. Good post! Thx! Thx!