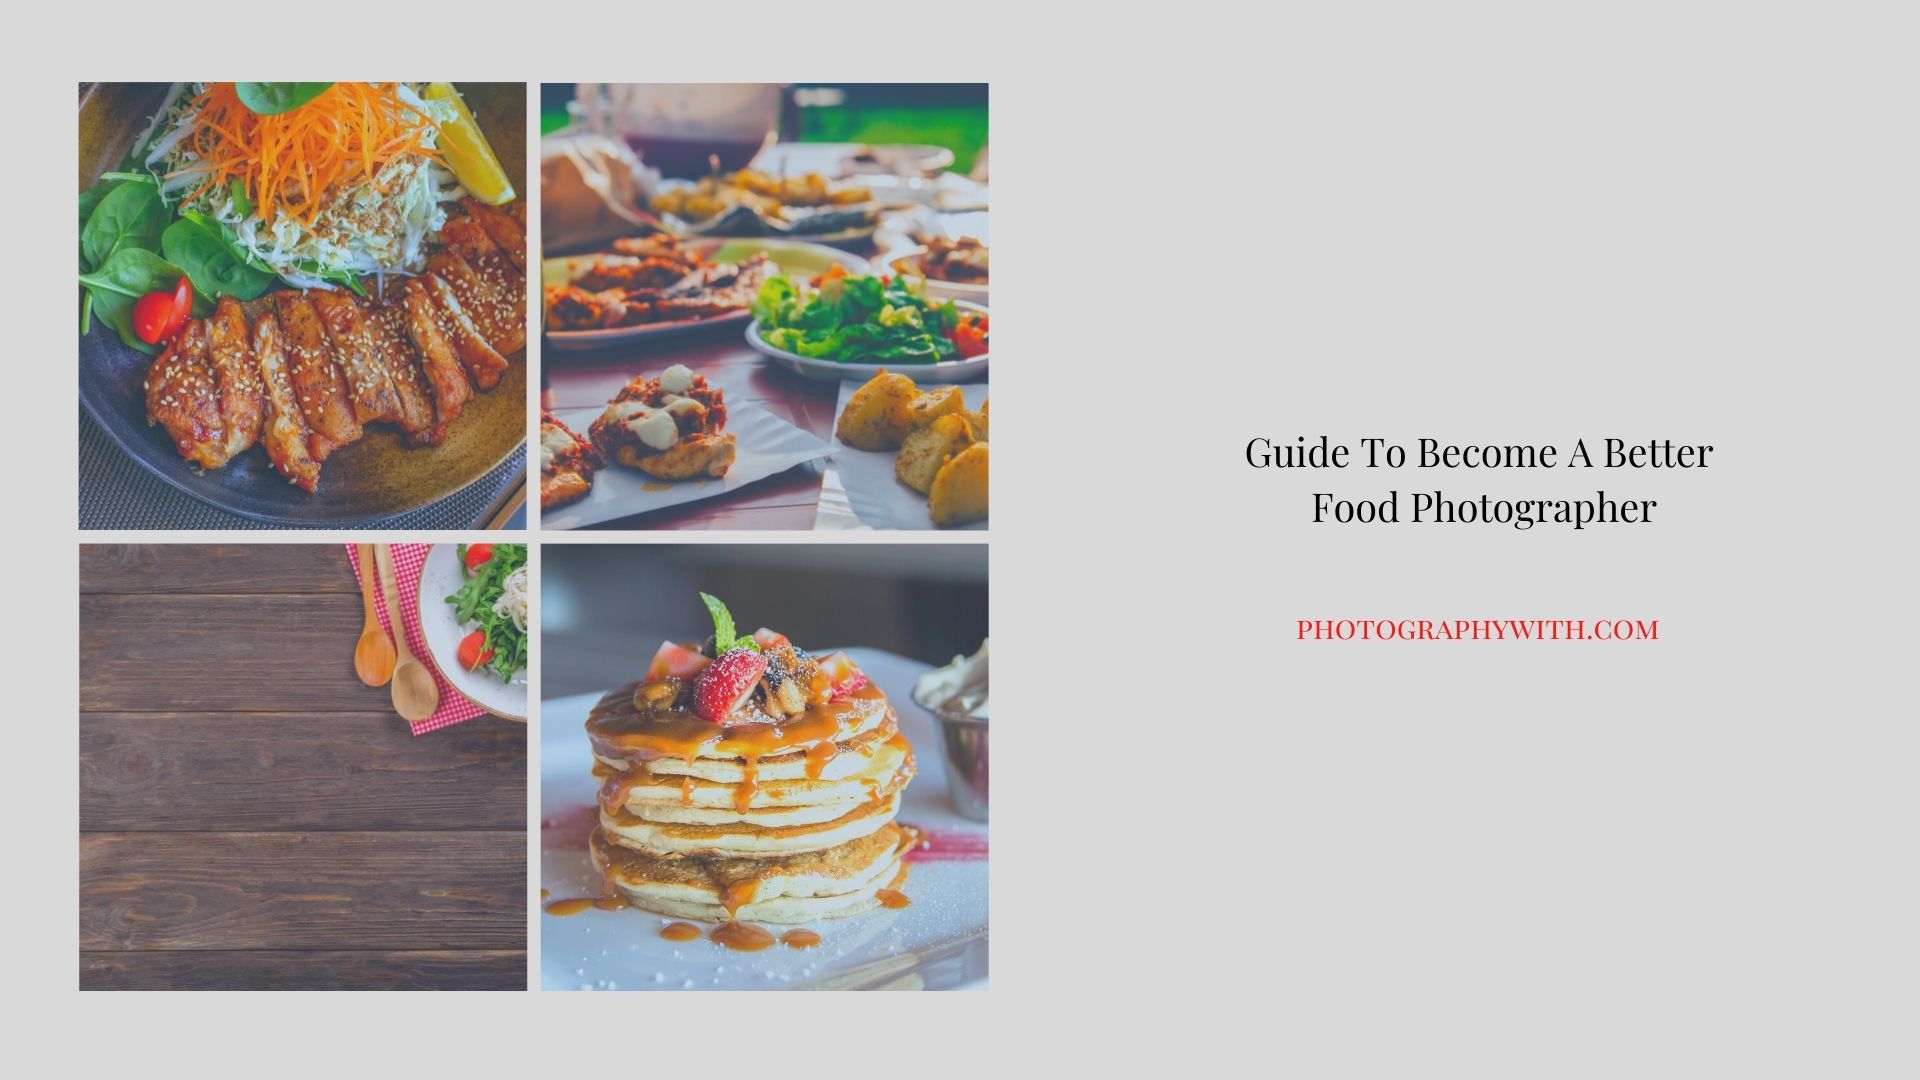
Food photography is a very interesting and emerging field that provides a wide range of opportunities to food photographers.
If you desire to be a professional food photographer you need to work very hard and attain the best skills.
It is a specialization of commercial photography, the products of which are used in advertisements, magazines, packaging, menus or cookbooks.
Food photography is a good field to explore your talent and experiment with food.
If you are a foodie and a photographer then this field might interest you.
But if you’re a photographer and want to become a better food photographer + foodie then this article is just bread and butter for ya.
So, today in this article, I’m sharing some of the best and very important tips to become a better food photographer.
6 Important Tips To Become A Better Food Photographer
here’s a list of some crucial tips to become a better food photographer…
- Choose the Perfect angle
- Right Area To Focus On
- Equipment For better Food Photography
- Importance Of Macro Lens
- Reflectors Are The Key To Better Food photography
- Natural lights
now let’s understand each point in detail to become a better food photographer.
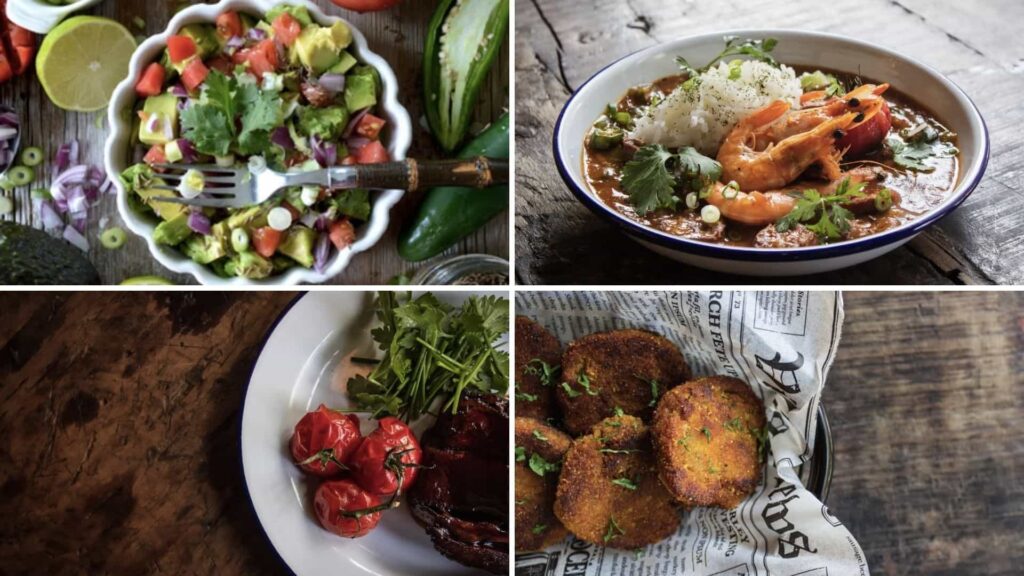
Choose The Perfect Angle
If you want to know how to photograph food, a good tip, to begin with, is to look at examples of professional photography.
Looking at the examples of professional photography will help you to get an idea and it will help you to figure out the technique used for food photography.

Photo by Erik Binggeser on Unsplash
You can find these on packaging, on the websites of retailers or high-end restaurants, on online food menus on the platforms like swiggy, zomato, uberEats, etc.
and in the online portfolios of food photographers who actually work in this field.
Studying these images will help you to understand what is expected within the industry.
Look at enough professional food photography, and you’ll start to see a pattern.
The same angles get used over and over again, such as the flat-lay shot from above and the low-over-the-table shot from the side.
I highly recommend you use these angles as your compositional starting points.
However, don’t just select one at random instead, you must carefully determine the correct angle for your shoot according to the place food, lighting, and other factors responsible for food pictures.
Why? Because where you place the camera will influence the type of story you tell.
And when you get down to it, food photography is all about telling stories.
Indian cuisine is so rich and famous all around the world that will get numerous opportunities here to learn food photography in different ways and styles.
Our ways to shoot are as diverse as our own country.
So as you set up your composition, think of the food.
Notice its size, shape, height, and what makes it unique. Then angle the camera so as to best highlight these qualities.
specially Indian cuisine is so rich and famous all around the world that will get numerous opportunities here to learn food photography in different ways and styles.
Our ways to shoot are as diverse as our own country.
Right Area To Focus On
A simple food photography setup should start with a hero object – that is, the focal point of your photoshoot, the item you want to highlight.
Generally, we highlight the main dish to identify your hero object.
Place it on the table. And then surround it with props that relate to the food. Ingredients, sauces, oils, and cooking utensils can all tell the story of the food’s preparation.
Tins, jars, herbs, glasses, fabrics, and linens can hint at the origin of the dish or the season in which it is served.
Don’t go overboard, of course, but do place a few objects in the foreground and background.
For instance, you have seen a chief’s videos and the way he/she cooks and presents the food in a way that includes the food and the food ingredients nicely placed together in an attractive way.
and at last, they present the final product with side dishes, garnishes, and other things which make the presentation spectacular.
These will elevate the story of the shot, plus they’ll give your composition physical depth.
It depends on you, how you choose to narrate the story. You can focus on side dishes or garnishes or anything you want. Just keep on trying new things.
Equipment For better Food Photography
if you want to take pictures of food you eat from time to time and post them on social media, a smartphone is all you need.
However, if you are dreaming of becoming a food photographer that earns money, you need to take care of professional equipment.
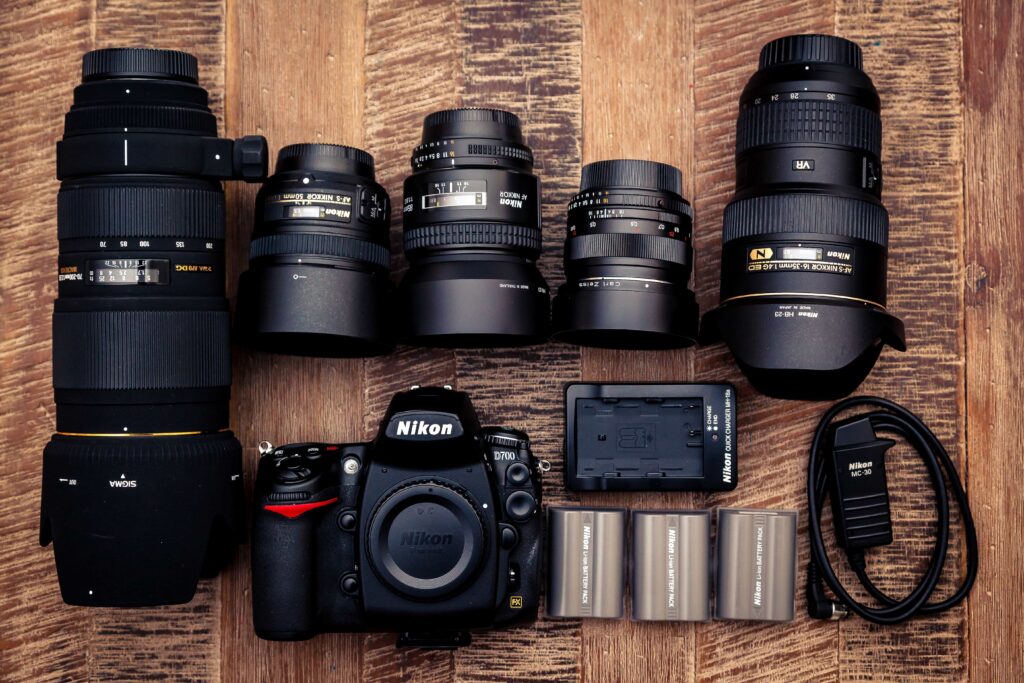
That means choosing a good camera, a suitable lens for food photography, and a few additional accessories.
You need to use manual settings on DSLR or a mirrorless camera.
What is important is that you can find a quality macro lens with a high megapixel matrix because this type of photography project is normally printed with high resolution.
I have also noticed that a camera with an articulating screen is more convenient concerning usability as it will make shooting more comfortable without neck or backache.
Best Cameras To Do Food Photography
here are my recommended cameras (from beginners to expert level) to use as a food photographer…
- Canon EOS Rebel T6i (Cropped sensor)
- Canon EOS 5D Mark IV (Full-frame)
- Olympus OM-D E-M5 MARK II (Mirrorless)
- Canon EOS 6D Mark 11 (full-frame)
- Nikon Z6 (Full-frame)
- Nikon D3400 (Cropped sensor)
Importance Of Macro Lens
Choose a macro lens for taking photos at a relatively close distance, without distortions and having the texture of the dishes clearly visible, professional food photographers use only macro lenses.
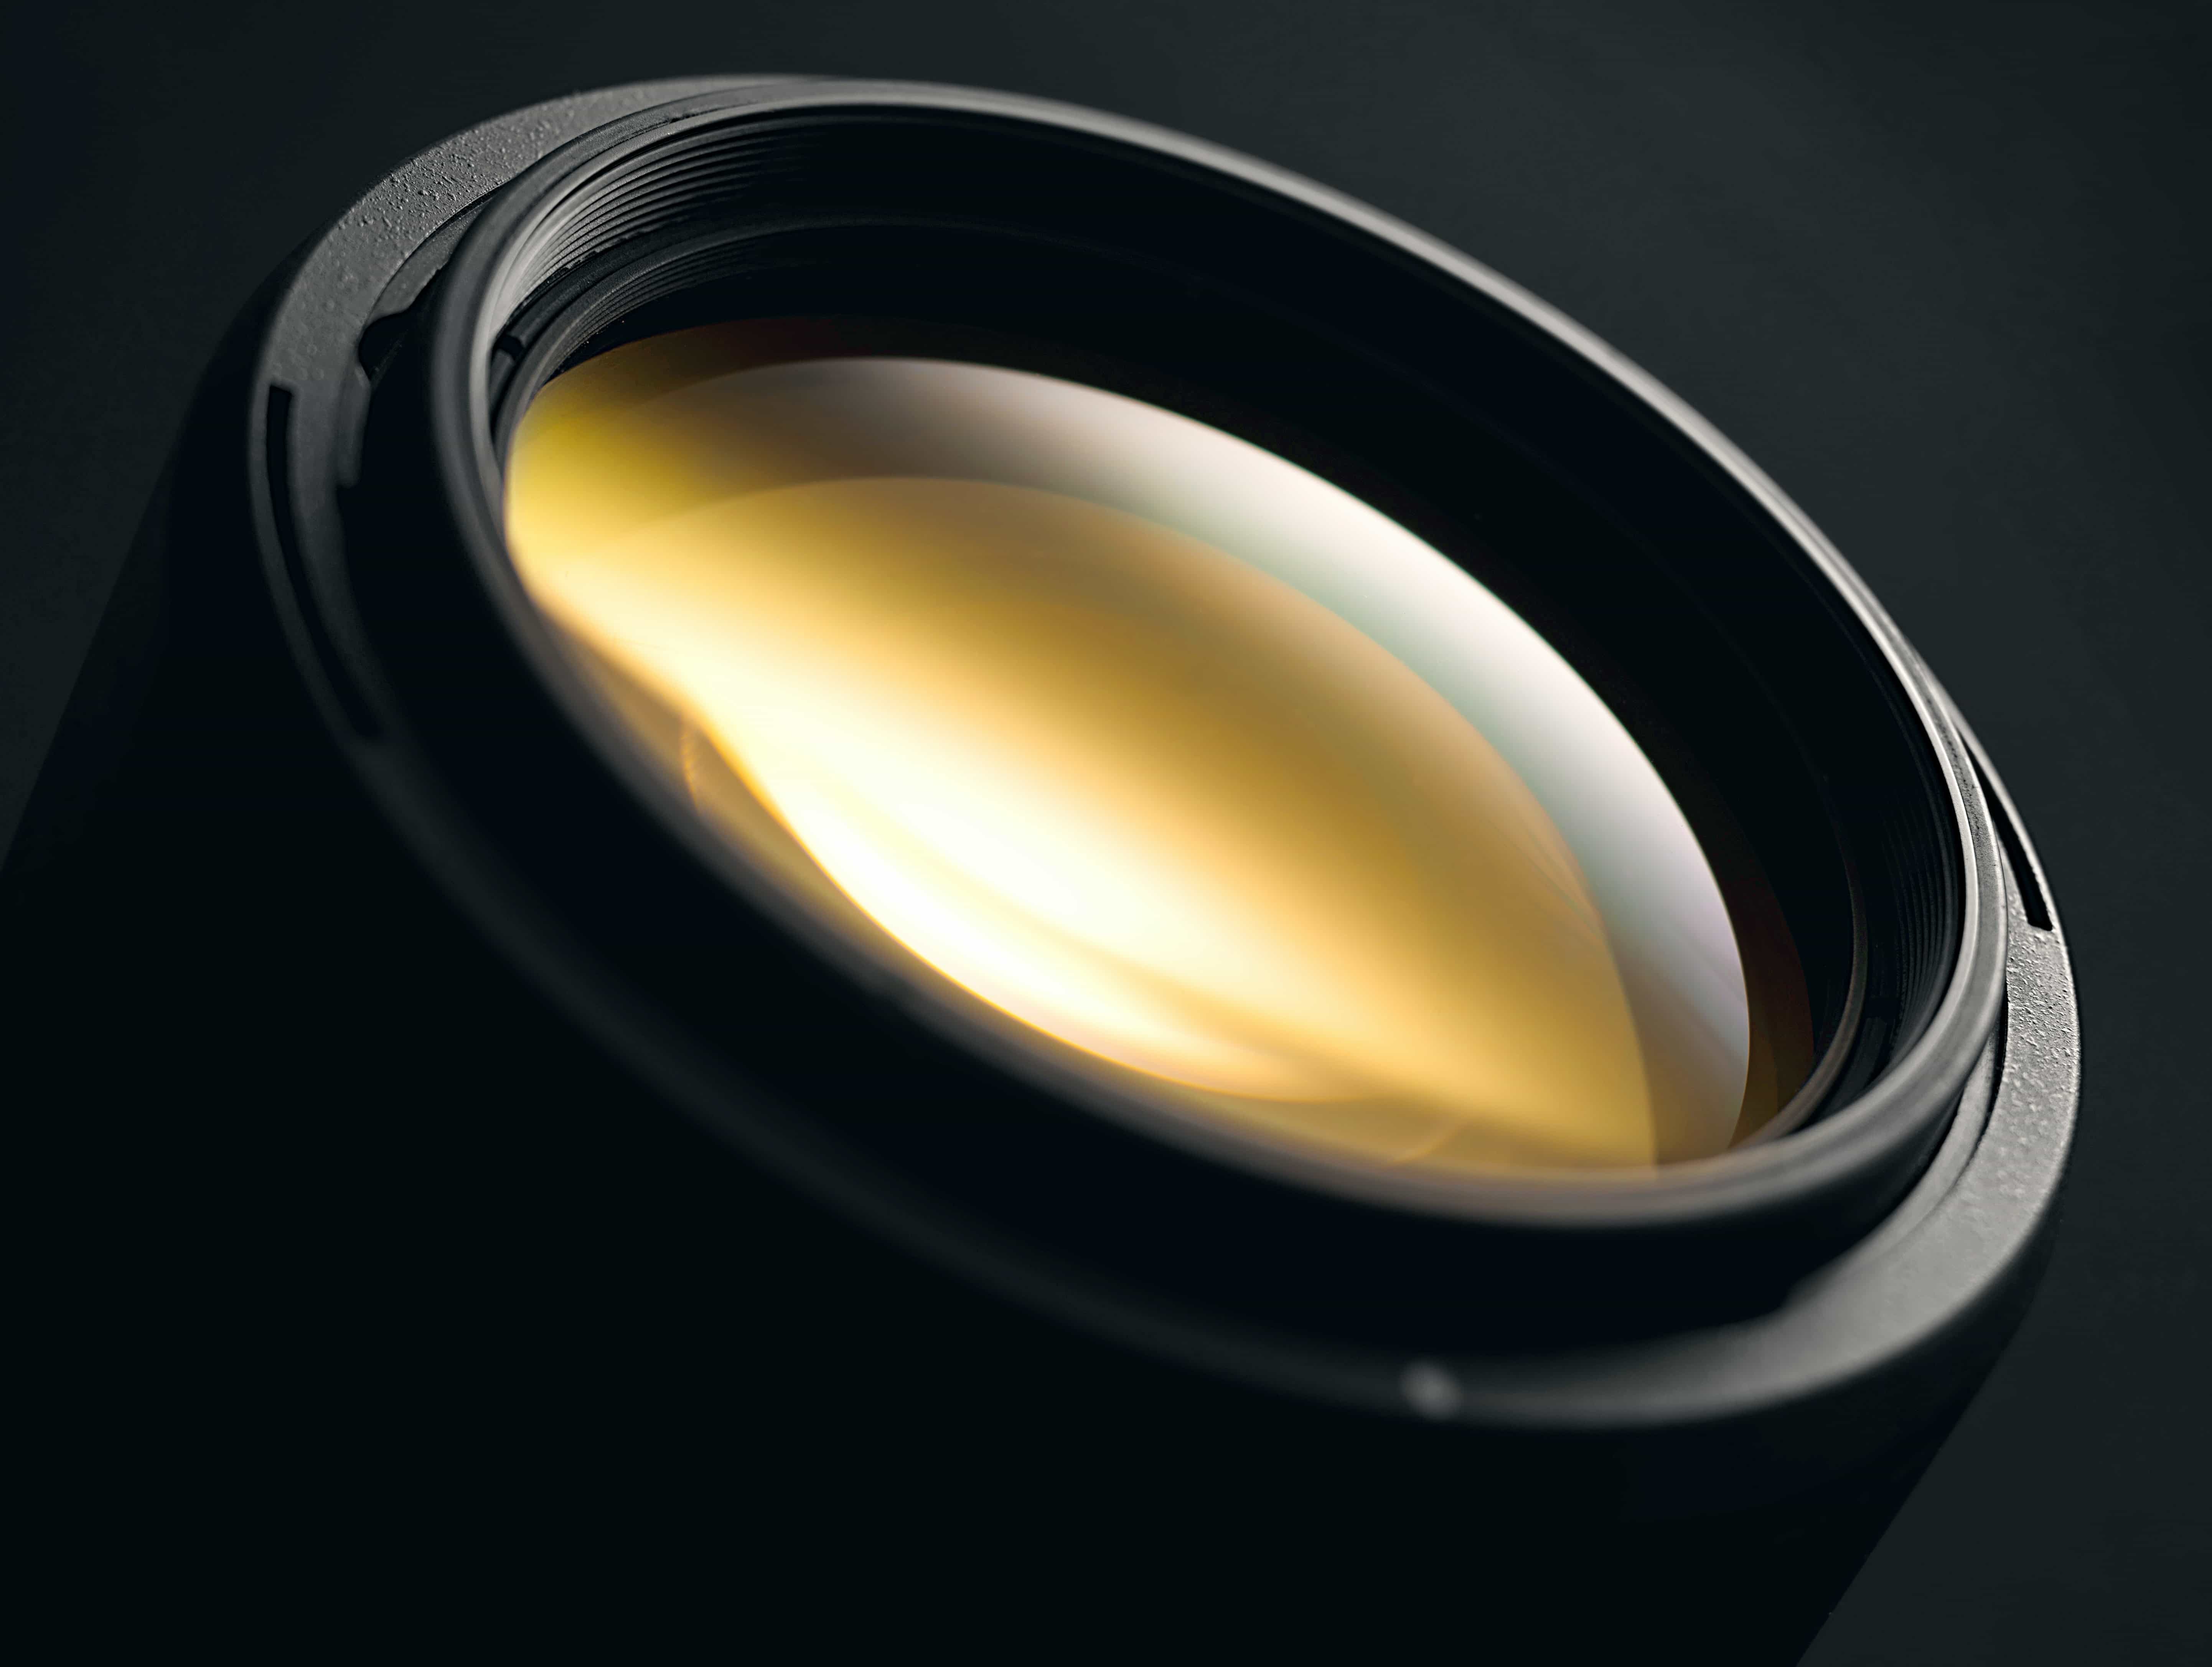
Photo by Alexander Andrews on Unsplash
It will help you take very sharp images of very small objects.
Such lenses usually give high sharpness and accurate color rendering.
Their price, however, is higher than that of the regular lenses.
For close-up photos of small objects, I recommend using 60mm f/2.8 Macro, while for wider shots you will definitely need a 35mm f/2.8 Macro lens, or a more universal 12-40mm f2.8 zoom.
Lens Professional food photographer users…
Some of my favorite ( and widely used ) macro lenses for better food photography ( if you want some professional output. )…
- Sigma Macro 105mm f/2.8 EX DG OS HSM
- Tokina atx-i 100mm F2
- Canon RF 85mm f/2 Macro IS STM
- Canon RF 35mm f/1.8 Macro IS STM Lens
- Canon EF-M 28mm f/3.5 Macro IS STM
- Nikon Z MC 105mm f/2.8 VR S
- Tamron SP 90mm f/2.8 Di VC USD Macro
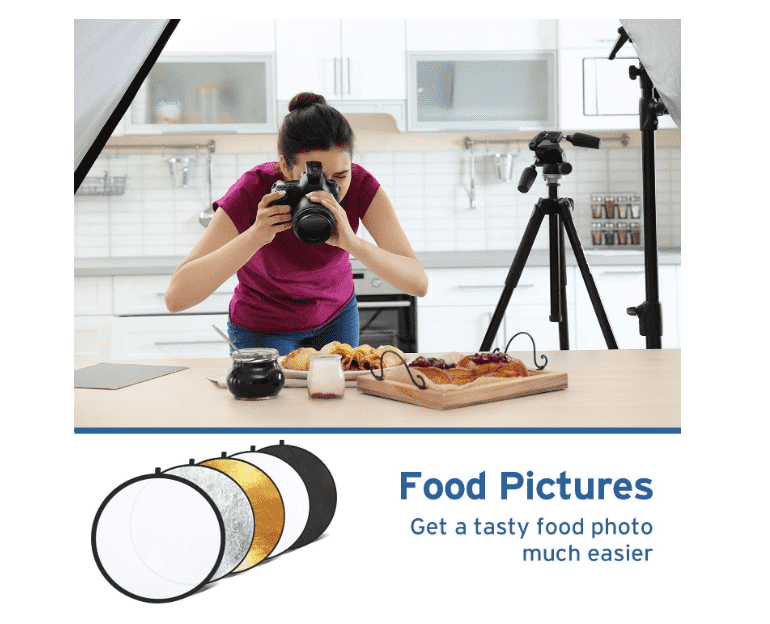
Reflectors Are The Key To Better Food photography
You may also need reflectors to remove harsh shadows, highlight an object or make the light softer.
check prices on Amazon
They can be of different sizes, shapes, and coverage.
For photos of meals, you can use simple white reflectors.
They are placed opposite the light source.
Any reflective surface can be used to reflect light back onto the scene.
You can also try using Tripod if required. It might be a solution to your problem.
Natural lights
In order to capture accurate and appealing photographs of food, you should try and use natural light when possible.
Natural light gives realistic effects to the image and embraces the colors in food.
Artificial lighting can sometimes distort the true colors of the food and can make food look When harnessed properly.
natural light will highlight all the subtleties in texture and color tone.
To find the best natural light, move freely through your studio or space, taking a sample plate and camera with you to set up a test shot for lighting.
If the light is being tricky or falling in an uneven way, a suitable alternative is to place your scene within a lightbox.
The most obvious function of a lightbox or light table is to transfer an image from one piece of paper to another.
for example, to turn an initial drawing (perhaps on rough paper) into a finished one (on art paper), but they can also be used to combine two original images since the light can generally penetrate more.
Conclusion
Food photography is one of the most interesting branches.
It requires a lot of creativity and practice to excel in food photography.
all the elements in food photography play an important role.
If anything goes wrong you can always fix minor errors with post-processing editing.
You can achieve many spectacular images by using the above recommendations and suggestions, so keep working hard.
so which one is your favorite food photography tip(s) from this article?