A photograph can capture and freeze a single moment in time, but a sequence of pictures placed with intentions can tell a story and carry the viewer through time, telling a journey.
Similar to a film or a movie, a well-sequenced series of photos can guide the viewer, it’s not just about the aesthetics but also connection, rhythm, and pacing.
Each photo in a series can carry a piece of a narrative, like a beginning, a turning point, a conflict, etc.
Sequencing can be a powerful tool in visual storytelling.
The work of a photographer can shift from merely capturing an isolated moment to telling a story through a series of photographs with sequencing, and that is the art of visual storytelling.
This article can help you as a guide to create a coherent, cinematic visual narrative using a series of images.
We will talk about every step that is important in visual storytelling.
The list includes selecting and defining a theme, planning the approach, shooting with purpose, editing with clarity or with AI, sequencing for the story, and choosing the right presentation.
How to Select and Define Your Visual Story Theme
The first and most important thing for a strong visual story is a clear theme.

The theme needs to be something that resonates with you as an artist and also holds both emotional and visual potential.
The theme can be anything, any social issues, a place, a relationship, practically anything under the sun that you can relate to and are curious about.
One thing that is most important for a suitable theme is that you should care deeply about it enough to be curious and explore it with visual storytelling.
The connection and the clarity of your theme will show itself in your pictures, which will give them honesty and weight.
Clarity can also ensure consistency in your work.
With clarity comes intent, which can help you make clearer choices, you can recognize and choose which moments to keep, and how to maintain the emotional tone across different shots.
With an intention that guides your choices, the sequence becomes not just a collection of photographs but a story with focus and flow.
Your theme and intent do not have to be loud and obvious, but should be felt across every image in your sequence.
Planning Your Photography Approach for Professional Results
Once you have your theme in mind, clear, then you can start delving deeper and begin researching the topic.

Before stepping behind a camera, you need to take your time understanding what you shoot and capture, and do a full background on the topic.
The background knowledge that you research can help you move past the surface impressions and capture the pictures with more depth, empathy, and intention.
Once you have gained enough insight and context, you can move on to the next step, which is planning.
You can start by mapping out how to capture your shots.
You can use a storyboard, which can help you stay organized, and you can get an idea of your shorts on there.
A rule you can follow at the start can be “wide, medium, and tight.”
Use a wide shot to set up a setting, medium shots to show interactions or any actions, and close-ups or tight shots to establish an emotion or highlight a detail.
This rule can make the sequence you plan engaging and have a variety of different shots that can support the narrative flow in the best way.
The storyboard only gives you direction; you don’t need to plan every single shot down to the detail.
The research can help you with clarity, and the storyboarding gives you intention.
Together, both can result in the best narrative that is real, complete, and connects with the audience.
Shooting with Purpose: Capturing Narrative-Driven Images
When a sequence of images is viewed together, it only feels like a sequence when there is visual cohesion.

A good story is not seen but lived, and it can happen when there is also consistency in looks and feels.
Visual cohesion isn’t about the identical flames but a similar visual language.
You can start by choosing a consistent colour palette, such as warm or cool tones, or go with either black and white or vibrant colours.
A similar lighting style that goes best with your theme, such as natural light, high contrast, or even moody shadows.
All these choices have to be made keeping in mind the theme and the emotion of your photographs, and have to stay the same throughout the sequence.
Consider using the same focal range and the same lens throughout.
You can also pay attention to the framing, which means choosing if you want to shoot horizontal, vertical, etc.
As already established, consistency can help create a smoother visual rhythm from image to image.
Now, consistency is important, but capturing the true, candid, and real moments is equally important.
The most powerful and heart-touching photographs are the ones that are unposed, honest, and in between moments.
These unposed pictures reveal a truth that can’t be staged in any possible way.
You can use various techniques to bring out an emotional element in your photographs.
Some of these techniques can include the rule of thirds to draw the eye, leading lines to draw attention, and also natural framing to show intimacy.
Whenever your visual choices align with emotionally authentic moments, i.e., consistency meets authenticity in candid moments, then your story becomes unforgettable.
Pro Photo Editing: Traditional Techniques and AI Tools
Another step that can be impactful in visual storytelling is editing.
Editing is the step where your story can be shaped, and sequencing is where your story finds its voice.

The editing stage is about choosing the best and most compelling images that are essential to the story.
Each photo you choose should have a purpose in your narrative.
You should select the ones that are an important part of your story, not only the beautiful ones or the technically strong ones, trust your instincts.
A strong edit is not only about quantity but about clarity.
Once you have selected and edited the photographs that serve a purpose in your narrative, you can start by arranging the photographs in a way that they flow best and tell your story in the best possible way.
You should think from the viewer’s point of view and see how they enter and move through the sequence of your images.
The opening image that you choose should establish a setting and a mood.
The middle frames should be used to develop a story that is meant to establish relationships, tension, motion, or depth.
The last or the end photographs should give the viewer some sense of closure or reflection. It should leave an impression on the viewer’s mind.
As discussed earlier, consistency is key; try to use a consistent editing style, such as the same contrast levels, cropping, and tones.
If you feel like context is needed in places, then you can certainly use brief captions in your work as well.
But you should use captions sparingly, only when necessary. Captions should only support the images, not explain them.
You should let your photographs carry the meaning.
Sequencing Images to Tell Compelling Visual Stories
After you’re done with editing and sequencing, the next step is how and where you want to share your story, the way that does your story justice.
You can start by choosing the presentation format, which could be a blog, a slideshow, an Instagram series, a photobook, or even a web format.
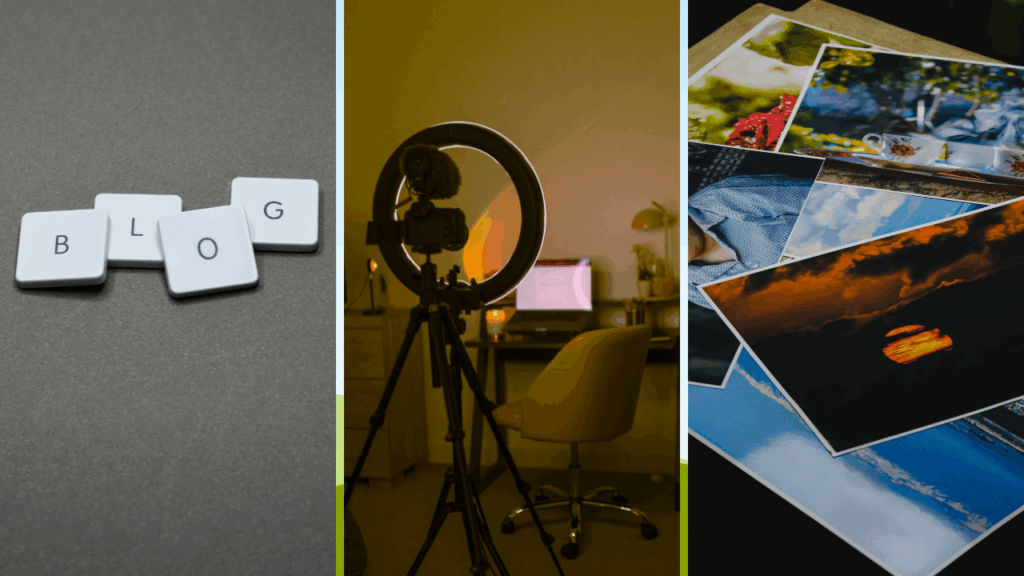
You can choose these based on your subject, mood, and the audience you want to target, as every platform has its own pace and a different level of intimacy it offers.
A digital format can provide more engagement and reach, but a printed format can invite a quiet reflection.
Now, once you have decided how you want to share your work and have done it, you can open the door for connection.
You can start by adding a caption wherever you think necessary, not with every picture, just the ones where context is needed for engagement.
For better interaction, you can even add challenges or ask the viewers for suggestions, to respond, reflect, and add their perspective.
You can create a space for the viewers where they can imagine themselves in your work.
Publishing isn’t just about exposure, but about creating a link between your story and the world.
Choosing the Right Presentation Format for Maximum Impact

The first step for creating a story is choosing a starting point or starting with a single idea.
You can start moving forward step by step, which is discussed in the article above.
The sequence includes choosing a theme, planning, shooting, editing, sequencing, and finally publishing or sharing your work.
Make sure you start small.
You can start by trying to create a 5-7 photo mini-series, which is simple, meaningful, and focused.
In order to learn, you can try an exercise or tell the story of a single place.
You can see how the moments pass through in the selected place and how the mood shifts.
Or even, you can start with all that’s around you and what you notice.
Great stories are all around you, you just need to notice, be curious, and let your story unfold, simply one frame at a time.
Read more
- 5 Crazy Tips To Post High Quality Instagram Images with ease
- 27 Great Photography Blogs You Need To Follow In 2025
- 71+ Soulful Nature Photography Quotes to Spark Your Inner Artist
- Sell Photos Online in India: 10 Trusted High-Paying Platforms
- 12 Canva Tools to Master Your Designs (AI Based)