It’s too hard to capture photographs at night if you are just an entry-level photographer in this society, yes it’s hard to perform night photography but not that much hard as you might think !!
if you know some essential feature of your DSLR camera and some primary functionality of your DSLR camera then you can master night photography within a week.
like you guys, I also don’t like to capture photographs at night !! when I capture photographs at night then I get the following type of results.
- so many dark photographs ( because at that time I don’t know when to use ISO, so at that time I ONLY use ISO to capture bright photographs at night ).
High ISO is not good to capture sharp photographs at night !! so make ISO as low as possible ( recommended settings for ISO – 400-800 ) know the reasons.
- I use flash and I’ll end up with my subject glowing and other things with a dark background( sometimes blur background ).
- I never used a tripod.
there are number of other mistakes which I made and overcame to capture good photographs at night(suggested below), or you can say to master night photography.
in this article, I am sharing some of my personal mistakes which I made a year ago ( already shared some of them ).
and also covering some other mistakes which make my overall photography performance very bad.
and also sharing some proper tips to improve or overcome those mistakes.
so you can master this new type of photography without any avoidance.
I also searched for some common mistakes which every newbie photographers make when they learn night photography, find the solution to all of those problems in this article later.
hope you guys know the purpose of this article, so now without wasting, any sec let’s get started !!
Improve night Photography Within A Week | Quick Guide
I know you are here to learn night photography and hope you know that Taking photos at night is completely different than taking photos during the day.
if you don’t know this then yeah, that’s true but believe me, taking photographs at night is much exciting than taking photographs at day.
The mistake I made when I was learning Night Photography
let me explain some other important mistake which hope you guys don’t make after reading this article.
if you’re not archiving success over, night photography then read all these points, who knows you’re also making the same mistake that I made last year.
-
I never
- used any wide lens.
-
I didn’t
- know basic features of Manual Mode ( like aperture, Shutter-speed, etc.. )
- know there is the Most Important mode for Night Photography is available ( know later )
- have any Plans.
- know how to edit my photographs.
now let’s see under the hood, the main reason behind all these mistakes and find some good solutions to capture awesome night photographs.
Facts which you need to know before capturing
- In most cameras, Bulb is typically found after 30” in Manual Mode
- Take a flashlight with you when you go for night photography. because using this you can draw attention to your photographs and get something innovative.
Ways to capture good night photographs
Wide Lenses are the only key to get better night photographs ??
- if you are asking me then it’s 70-30 because there is some reason available which tells why prime lenses are not better than wide lenses to capture good night photographs.
- hope you know wide lenses cover more width than primary lenses so that’s the main reason.
- if you want to capture a good landscape type of photographs or any other type of photographs then wide lenses are much better to express your clarity.
know the difference between wide lenses and prime lens
Learn Basic Functionality of Manual Mode
- this is the most common mistake every beginner photographer makes while capturing any other new type of photography.
- when I was new to this photography world I did the same thing, I don’t know anything about my DSLR camera and also the manual mode and at the end, I can’t able to capture the clarity which I want in my photographs.
so you need to learn some basic functionality of Manual mode.
if you learn this mode then you can capture any photographs without any mistake.
- learn how your DSLR camera works with all modes and examples
- know what is ISO and Shutter-speed and how it can improve your Night Photography performance
Most Important mode for night Photography
- let me make it simple for you, if you don’t know how to use Manual mode then this mode is the ONLY GOLDEN key to capture steady night photographs.
- yes, you are right I am talking about Aperture Priority Mode.
Note: this mode is for those who just don’t know how to capture photographs at night or manual mode, or even if you want to capture photographs too quickly then this mode is for you.
- this mode sets some features like aperture and shutter speed automatically.
- and this mode is best to capture static subjects.
Learn Aperture Priority & shutter-Priority Mode
A proper plan
- yes its also one of the most important points if you want to capture some good high definition photographs.
- because if you are going tonight to capture star trails but when you start capturing and you didn’t see any stars then you can’t get the photograph which you are expecting.
see this awesome tutorial to learn how to capture star trails and the software which tells you, its better to capture photographs tonight or not !!
A Good Tripod is the Golden Key
- this is another most common newbie photographs makes when capturing night photographs.
- hope you know, while capturing at night to get bright photographs you need to make shutter-speed minimum up to 1 sec.
- and if your camera is not stable then you get low-quality type photographs.
without tripod

- To get enough light at night, you need to have your lens open for longer than you’re used to, and for this thing, tripod is a must.
in short, owning a tripod for the most flexibility.
if you don’t have enough money to buy a new tripod then don’t worry you can follow all these tips which I used to capture some good-looking night photographs.
- you can set your camera on a table, stool, or bookcase. You can also brace yourself against a wall, fence, or post to get proper support for your DSLR camera.
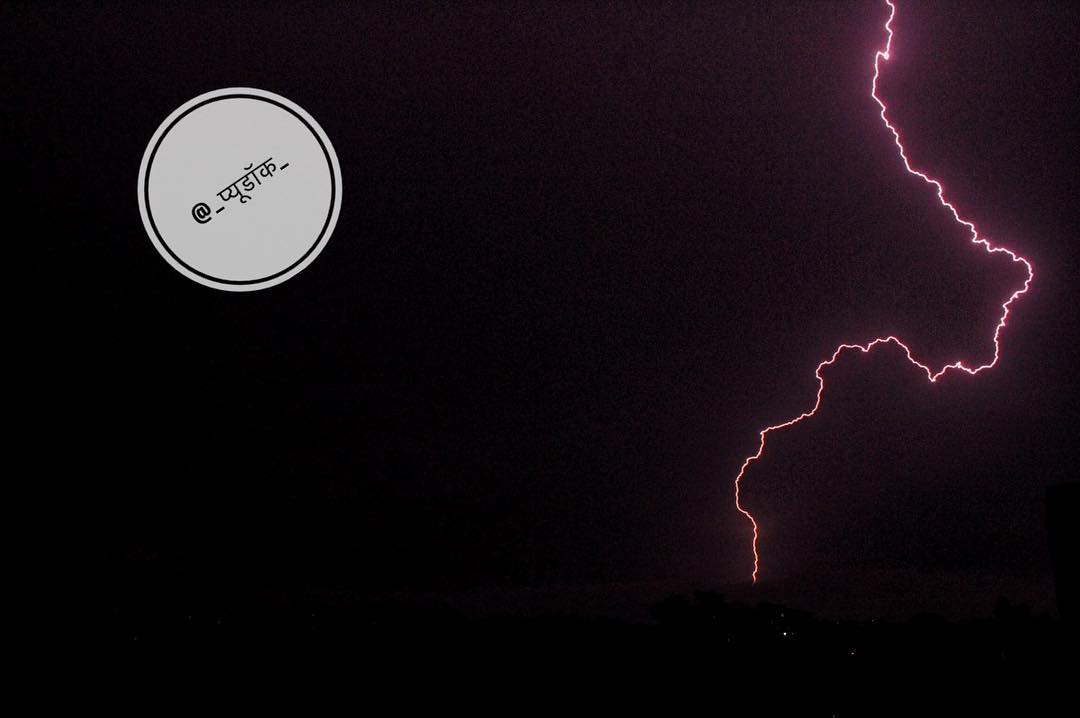
see this photograph which I capture using some supports
follow @pewdoc_
as you can assume I captured this shot with high shutter-speed but without a tripod, it’s not possible for me to capture this shot.
because constantly I need to watch the sky for movement to capture the shot.
in short, our Main AIM is to figure out how to hold your camera perfectly still during the exposure.
so in the end, you get sharp with a rich quality photograph.
Edit your Photographs like a PRO
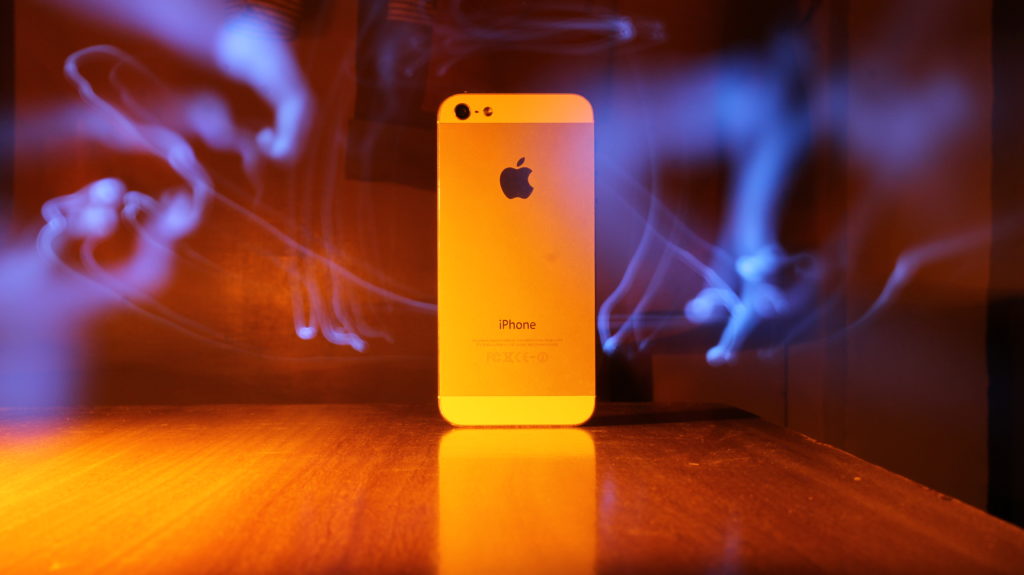
captured by @pewdoc_
I always like to write an article too short and easy to understand.
so I don’t want to waste your time by listing lots of important photo editing software.
yes, there is so many software you can use to edit your photographs but here I suggest you some important software.
which I see lots of photographers use to edit their photographs.
I use some of this photo editing software.
but honestly, I don’t have proper knowledge about all these software so find some resources below this point to get good editing software.
if you are asking me then it’s good if you capture all photographs in RAW format so you can explore each part of your photographs in depth.
if you want to know why I recommend a RAW format and even if you don’t know anything about RAW format then read my article on WHY RAW format is better than JPEG
capture something Interesting…
I hope you know something about night photography now.
if you performed all these things which are noted above then now you must know and even realized that it’s super easy to capture steady objects at night but not moving an object.
so for this, you need to do more and more practice and believe me, that’s the real key to success.
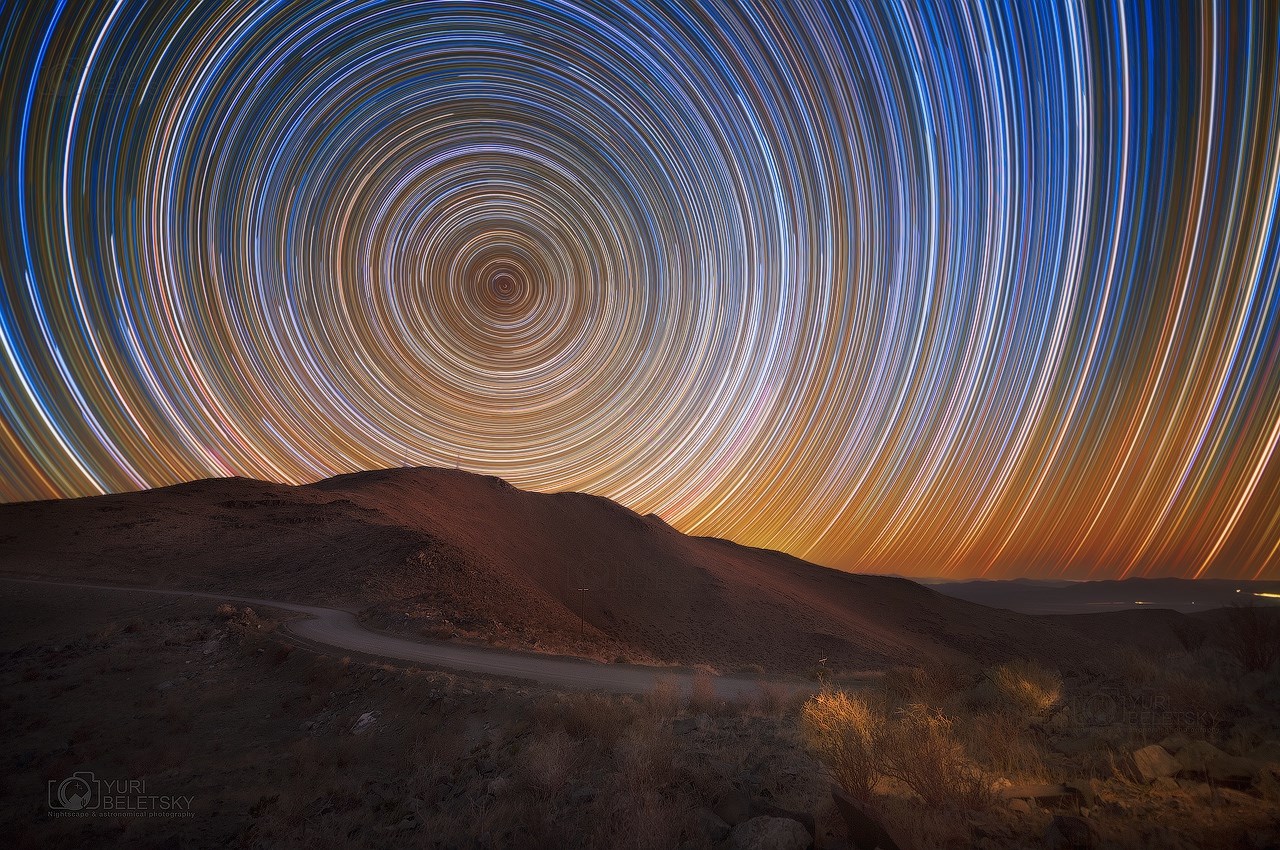
this is the interesting thing which I am talking about and as you know, I am talking about star trail photography…
if you want to capture photographs like this then you need to brack down your exposure with some correct calculations.
calculations about a good environment, clarity and lights and so many other stuff.
to get this kind of result you can bracket your exposure either manually or automatically.
as you know you get a max of 30 sec so it’s hard to click on and off every time when the time limit of 30 sec is over, so here is one solution.
buy shutter release remote which makes you free from all this boring work and makes your life a lot easier.
- buy s shutter release remote ( for Indian users )
- buy a shutter release remote ( for US users )
For manual bracketing, choose Aperture Priority or Speed Priority Mode.
By combining several images in editing software, this technique recreates the exposure range.
and the details that a regular camera is unable to capture, that’s how star trails get captured !!
here is the tutorial which explains how to edit star trails like a PRO and if you asking me how to capture this then I already give you a link to capture star trails.
congratulations, now you know how to capture night photographs and you also gain some amazing skills related to photography.
- follow me on Pinterest to gain more skills and know more news and hacks about Photography.
if you guys like this article on night photography then please share it and comment below your one of the best shots, have a good day.

 FREE Guide Revealed!
 Don't Miss Out The Opportunity To Earn as Photographer in this year :)