
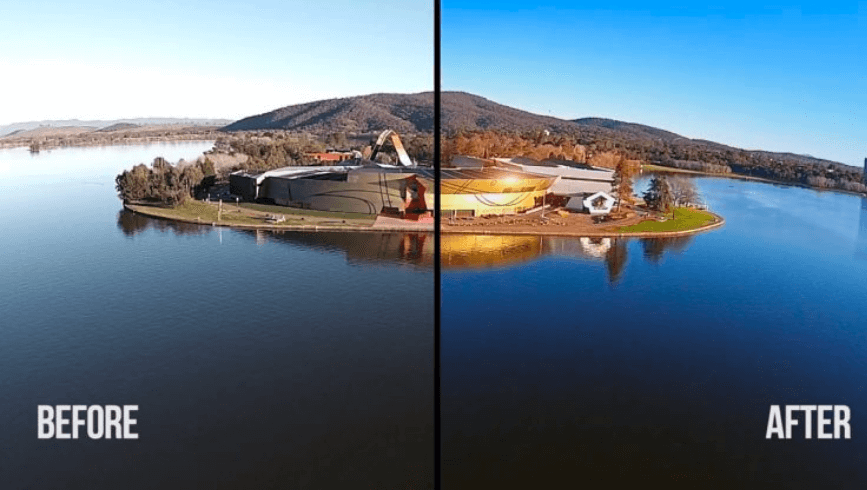
There is an ample difference between the natural colour and what the camera captures.
When we capture a picture through a camera, it can often cause frustration by not providing the desired colour or natural ambience we expected.
In such cases, colour correction is ideal for restoring the natural look and get the desired result.
Colour correction can be done through photo editing software, which provides different, easy, and unique ways to change the mood of the image.
Photoshop, Lightroom, and many other related photo editing programs have an option for colour correction.
Discover how to change the mood of your images and all other correlated aspects by colour correction throughout this article.
What Is the Importance of Color Correction?
What is the importance of colour correction? Well, colour correction or adjustment is something that gives the image or photo a more contiguous look.
The contiguous look allows the viewer to focus or concentrate on the story where you want the viewer’s attention.
This image colour correction process can be done through many premium and freemium programs.
Anyone from a newbie to a Pro, can correct or adjust the colour in a matter of minutes.
Moreover, getting help from any photo colour correction service can also be a reliable way to fix the captured photo.
There are a number of reliable and cost-efficient colour adjustment services that are available and can prove to be a handy option to fix your colour issues in images.
How to Change the Mood of Your Images?
Since the camera doesn’t capture everything we see with the eyes, it may produce an image which can be unsatisfactory.
In that case, colour correction can be essential in bringing the desired outlook of your captured image.
Color correction is to adjust, tweak and balance the color of your photo which give the image a natural and unobtrusive look.
The process of neutralizing the images can help you reduce the difference between what the human eye sees and the camera captures.
How to Change the Mood of Your Images?
Changing the colour mode of your image can be done very easily through different programs, softwares and online services.
Well, here we will show the image correction process through two different popular software. They are:
Photoshop
Photoshop is the most used and top-quality editing software that offers various ways to modify the colour of your photo.
Here we’ve included the most reliable and easist methods you can follow.
We’ll show the two methods with steps, so you can check them and try the one which is best and easiest one for you.
Quick adjustments:
You can use the quick adjustments tool to colour correct with Photoshop.
Here is the procedure you need to follow to add colour correction using Photoshop…
- Open Photoshop and bring your desired image. Then go to Filter and then Camera-Raw Filter.
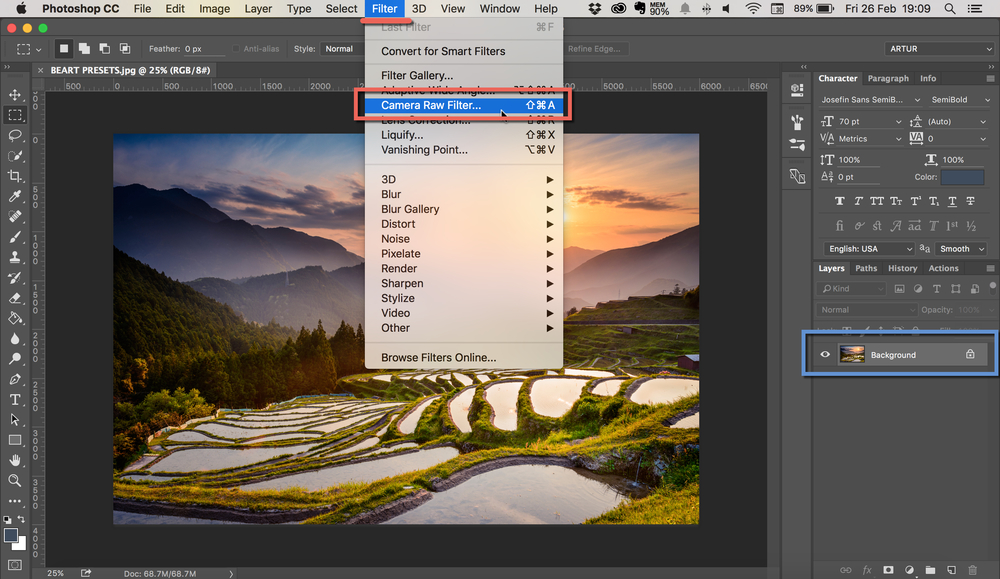
- Now you’ll find a saturation bar to change the vitality of all the colors present in the picture. The sliding temperature bar will let you adjust the colour from cool to warm.
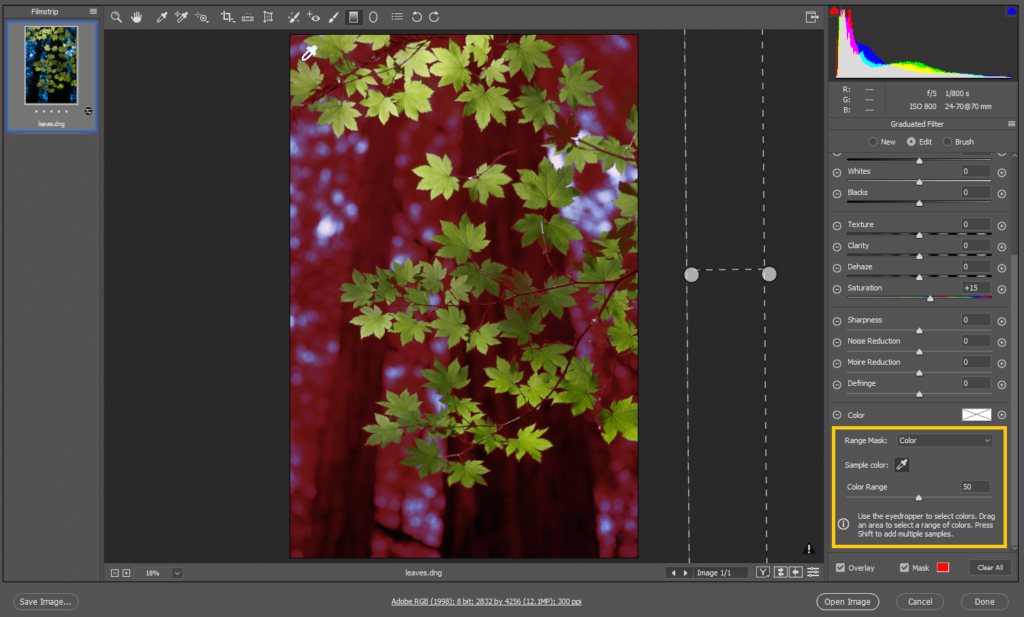
- Use the slider bars, which you will find under the colour mixer tab. Slider bars allow you to adjust brightness and colour individually.
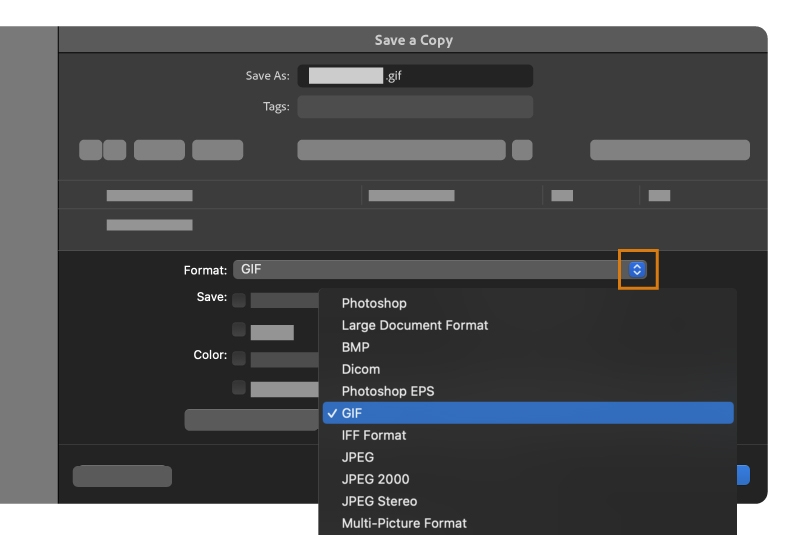
- Once you’ve completed the adjustment, it’s time to save the edited photo. Save the photo in your desired format for further use.
Correction Tool
If you’re not interested in using the Quick adjustments option, you can use the Correction tool for your image’s color correction using photoshop.
Here is the procedure you need to follow…
- Open Photoshop and open the photo you want to change or modify the colour of.
- Now tap on the toolbar from the left side and follow this path- Correction > Hue and Saturation. Here you will find a sliding bar to adjust the color grading of your photo.
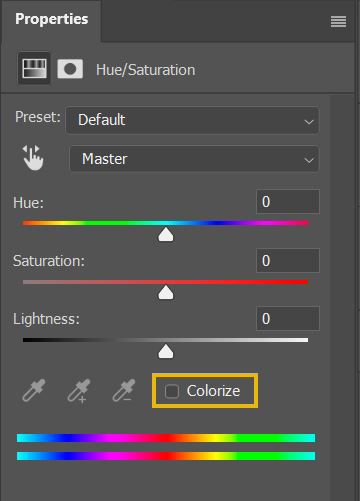
- Here you can change your color temperature to bring the appropriate change in your photo. Go to Correction, then Photo Filter, and here you’ll find several filters and tints to adjust the photo colour.
- Once you’re done with adjusting the colour, you can go ahead and save the edited photo in a desired format.
Lightroom
After Photoshop, Lightroom is another reliable photo editing software that will let you and any beginner adjust the colour of the photos.
All you have to do is follow some simple steps to perform colour correction of your photo. Have a look…
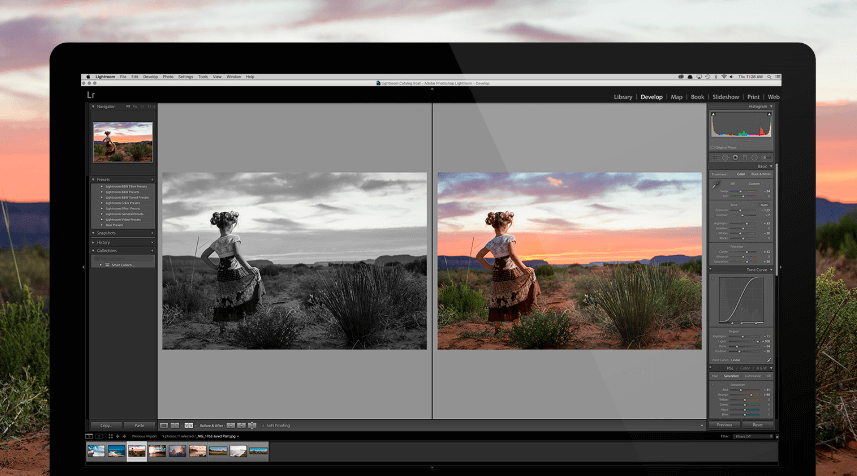
- First, open the Lightroom software from your device and then open the desired image you want to edit.
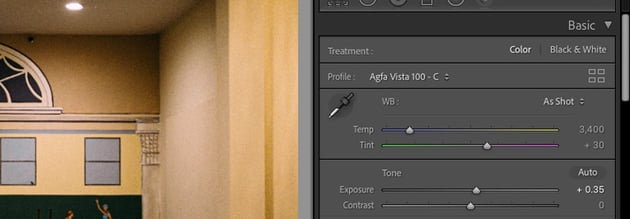
- Now it’s time to make changes in the photo color through tools under the basic panel.
- Among many options of custom selection, the first thing you’ll get is the temperature. You can set it to 0 or switch to -100 for cool and blue tones and +100 for warmer and more yellow tones. You can similarly adjust the overall saturation of all colours easily.
- For accuracy of hue and saturation compatibility, go to the third box labelled HSL / Color / B&W. Here you can change the colour and saturation of red, aqua, orange, green, yellow, blue, purple, and magenta individually.
- Once you’re done, save the edited photo in the desired format.
In addition to following the above steps, try to adjust things like shadows, exposure, highlights, and clarity.
These adjustments will give your photo a perfect and excellent look.
Final Thought
Now you know it’s not an arduous task, or you don’t have to follow any complicated process to color-correct your photo.
It will just take a few steps to give your image a natural look just like the first time you saw the subject.
Here we’ve shown the image color correction process through Photoshop and Lightroom.
Both are relatively easy to use and no one needs to be a pro photo editor to use these two programs.
May you like
- Top 6 Websites To Sell Photos Online In India And Make Real Money
- 10 Sharp & Easy Editing Tips To Make Any Photo Look Professional
- Lightroom Alternative To Edit Raw Photos For Free | DarkTable
So today, try one of them and create a cinematic and natural image that tells the whole story completely.

 FREE Guide Revealed!
 Don't Miss Out The Opportunity To Earn as Photographer in this year :)